
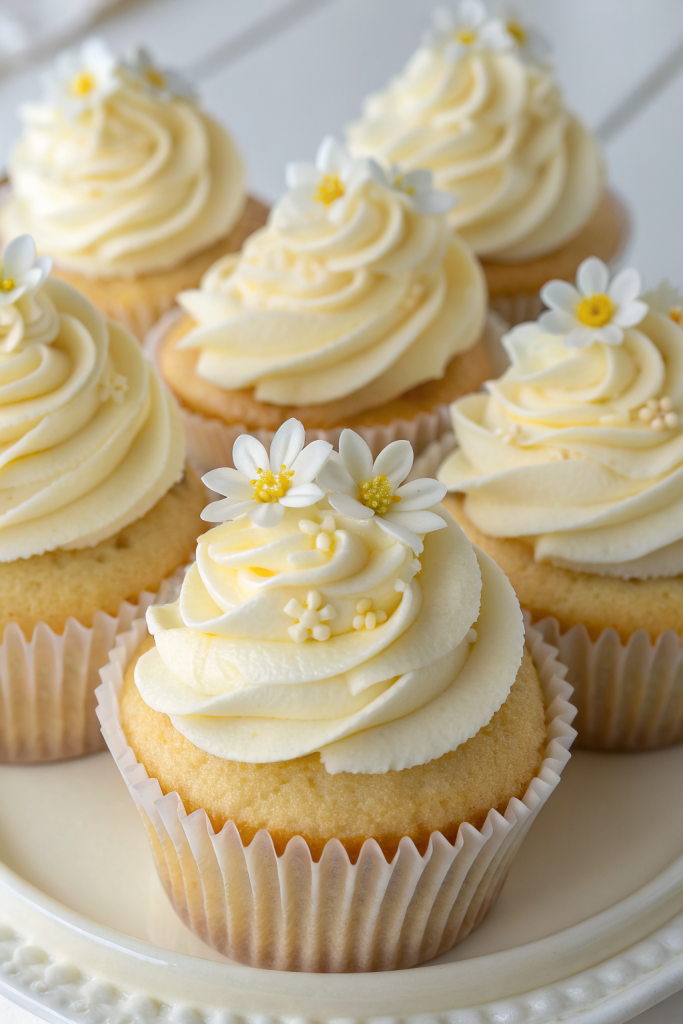
Japanese Cotton Cheesecake Cupcakes Recipe tastes like a cloud made of cheesecake, with a gentle sweetness and a melt-in-your-mouth texture that feels almost unreal. It suits anyone who loves classic cheesecake but wants something lighter, fluffier, and faster, since this version takes about 1 hour from start to finish. I tested these on my own family, and they vanished so quickly that I had to hide two cupcakes just so I could photograph them.
Why Choose This Japanese Cotton Cheesecake Cupcakes Recipe
This Japanese Cotton Cheesecake Cupcakes Recipe gives you all the signature jiggly softness of a full cotton cheesecake without the stress of a water bath in a big pan. Individual cupcakes bake more evenly, cool faster, and travel easily to parties, potlucks, or school events.
You also avoid slicing drama, since everyone gets their own little cloud. The batter uses simple ingredients, and you can use pantry shortcuts like cornstarch and vanilla extract to keep things easy but still bakery level.
“These Japanese Cotton Cheesecake Cupcakes came out so fluffy and light that my family asked if I secretly ordered them from a fancy bakery. ★★★★★”
Ingredients You’ll Need
Dairy & Eggs
- 6 ounces (170 g) cream cheese, full fat, room temperature
- Use a block style cream cheese like Philadelphia for the smoothest texture.
- 3 tablespoons (40 g) unsalted butter, room temperature
- 1/3 cup (80 ml) whole milk, room temperature
- 4 large eggs, separated, room temperature
Dry Ingredients
- 1/4 cup (30 g) cake flour, sifted
- If you only have all purpose flour, measure 1/4 cup, remove 1 teaspoon, and add 1 teaspoon cornstarch.
- 2 tablespoons (15 g) cornstarch, sifted
- 1/4 teaspoon fine sea salt
Sugar & Flavor
- 1/3 cup (70 g) granulated sugar, divided
- Use about 2 tablespoons for the yolk mixture and the rest for the meringue.
- 1 teaspoon pure vanilla extract
- 1/2 teaspoon lemon juice or 1/4 teaspoon cream of tartar
- This helps stabilize the egg whites.
Optional Toppings
- Powdered sugar, for dusting
- Fresh berries such as strawberries, raspberries, or blueberries
- A spoonful of fruit jam or lemon curd
- Light whipped cream
Equipment
- Standard 12 cup muffin pan
- High quality paper cupcake liners or parchment tulip liners
- Thicker liners help prevent sticking and soggy bottoms.
- Large mixing bowls, very clean and dry for the egg whites
- Hand mixer or stand mixer with whisk attachment
- Small saucepan or microwave safe bowl
- Fine mesh sieve for sifting
- Rubber spatula
- Cooling rack
- Oven thermometer if your oven runs hot or cold
Tips & Tricks
- Bring cream cheese, butter, milk, and eggs to room temperature so they blend smoothly and trap more air.
- Separate eggs while cold, then let whites and yolks warm up in separate bowls for better volume.
- Wipe the egg white bowl and beaters with a little vinegar or lemon juice to remove any grease.
- Line every muffin cup and fill any empty cups with a bit of water to promote even baking.
- Sift the flour and cornstarch together to avoid lumps and keep the crumb ultra light.
- Add sugar to the egg whites gradually so the meringue stays glossy and stable.
- Fold the meringue into the batter gently with a spatula, cutting through the center and turning the bowl.
- Tap the filled muffin pan on the counter a few times to pop large air bubbles.
- Bake at a slightly lower temperature than regular cupcakes so the tops stay pale and soft.
- Cool the cupcakes in the pan first, then on a rack, to prevent sudden temperature shock and collapse.
How to Make Japanese Cotton Cheesecake Cupcakes Recipe
Step 1: Prep the Pan and Oven
Preheat your oven to 300°F (150°C). Line a standard 12 cup muffin pan with paper liners and press them snugly into the cups. If you have extra empty cups, pour a little water into them so the pan heats more evenly.
Place the oven rack in the lower middle position. Set out all ingredients so everything sits at room temperature by the time you start mixing.
Step 2: Warm the Cream Cheese Mixture
Place cream cheese, butter, and milk in a small saucepan. Set the pan over low heat and stir until the mixture turns smooth and silky, then remove it from the heat. You only want to melt and blend, not simmer.
Let the mixture cool until it feels just slightly warm to the touch. If it feels hot, wait a few more minutes so it does not scramble the egg yolks later.
Step 3: Mix the Yolk Batter
In a medium bowl, whisk the egg yolks with about 2 tablespoons of the sugar until the mixture looks slightly pale. Pour in the warm cream cheese mixture slowly while you whisk. Add vanilla and salt and whisk again until smooth.
Sift cake flour and cornstarch directly into the yolk mixture. Whisk gently until no dry pockets remain and the batter looks silky. Set this bowl aside.
Step 4: Whip the Egg Whites
Place the egg whites in a large, very clean bowl. Add lemon juice or cream of tartar. Beat on medium speed until the mixture looks foamy and soft.
Start adding the remaining sugar in 3 to 4 additions while you continue to beat. Increase the speed to medium high and beat until the whites reach soft to medium peaks that stand up but curl at the tips. Stop before the meringue turns dry or clumpy.
Step 5: Fold the Meringue into the Yolk Batter
Take about one third of the meringue and add it to the yolk batter. Use a spatula to fold gently, turning the bowl and cutting through the center until the mixture lightens. This first portion loosens the batter.
Add the next third of the meringue and fold again with slow, sweeping motions. Add the final third and fold just until no big streaks of white remain. Keep the batter airy and avoid overmixing.
Step 6: Fill the Cupcake Liners
Use a scoop or ladle to divide the batter among the lined muffin cups. Fill each liner to about 80 to 90 percent full, since these cupcakes rise and then settle slightly. Tap the pan lightly on the counter 2 to 3 times to release large air bubbles.
If any batter smears on the pan surface, wipe it off so it does not burn. You want the tops smooth and level before they go into the oven.
Step 7: Bake the Cupcakes
Place the muffin pan on the lower middle rack. Bake at 300°F (150°C) for about 20 to 23 minutes until the cupcakes rise, look set on top, and show a very light golden ring around the edges. The centers should jiggle slightly when you nudge the pan, not slosh.
Turn off the oven and crack the door open a few inches. Leave the cupcakes inside for 5 to 10 minutes so they cool gradually and keep their structure. This gentle cool down helps prevent dramatic sinking.
Step 8: Cool Completely
Remove the pan from the oven and place it on a cooling rack. Let the cupcakes sit in the pan for another 10 minutes. Then lift them out and place each cupcake directly on the rack.
Let them cool completely before you dust with powdered sugar or add toppings. The texture continues to set as they cool and turns extra fluffy.
Step 9: Add Toppings and Serve
Right before serving, dust the tops with a light sprinkle of powdered sugar. Add a few fresh berries or a tiny spoonful of jam to each cupcake if you want extra color and flavor. Keep toppings light so the cotton soft texture stays the star.
Serve at room temperature for the best flavor and fluffiness. Cold cupcakes taste nice too, but the texture feels slightly firmer.
What to Serve with Japanese Cotton Cheesecake Cupcakes Recipe
Serve Japanese Cotton Cheesecake Cupcakes with hot green tea, matcha latte, or a simple cup of coffee for a cozy afternoon treat. Fresh fruit on the side, such as sliced strawberries, kiwi, or mandarin oranges, pairs nicely with the gentle sweetness. You can also plate them with a small dollop of lightly sweetened whipped cream and a drizzle of berry sauce. Kids love them plain in lunchboxes, while adults often enjoy them as a light dessert after a heavier meal.
Storage Options
- Store cooled cupcakes in an airtight container in the fridge for up to 4 days.
- Keep them in a single layer or separate layers with parchment so they do not stick.
- Freeze individually wrapped cupcakes (plastic wrap plus a freezer bag or container) for up to 1 month.
- Thaw frozen cupcakes in the fridge overnight, then let them sit at room temperature for 15 to 20 minutes before serving.
- Reheat gently in a low oven at 275°F (135°C) for 5 to 7 minutes if you want a just baked warmth, or enjoy them chilled straight from the fridge.
Japanese Cotton Cheesecake Cupcakes
Ingredients
Instructions
- Preheat the oven to 300°F (150°C). Line a standard 12-cup muffin pan with paper liners, pressing them snugly into the cups. If any cups remain empty, pour a little water into them to help the pan heat evenly.
- Place the oven rack in the lower-middle position and set out all ingredients so they come to room temperature while you prepare the batter.
- In a small saucepan, combine the cream cheese, unsalted butter, and whole milk. Warm over low heat, stirring constantly, until the mixture is smooth and fully blended. Do not let it simmer. Remove from the heat and let it cool until just slightly warm to the touch.
- In a medium bowl, whisk the egg yolks with about 2 tablespoons of the granulated sugar until slightly pale. Slowly pour in the warm cream cheese mixture while whisking. Add the vanilla extract and fine sea salt and whisk until smooth.
- Sift the cake flour and cornstarch directly into the yolk mixture. Whisk gently just until no dry pockets remain and the batter looks silky. Set aside.
- Place the egg whites in a large, very clean bowl. Add the lemon juice or cream of tartar. Beat on medium speed until foamy, then gradually add the remaining granulated sugar in 3 to 4 additions while continuing to beat.
- Increase the mixer speed to medium-high and beat until the egg whites reach soft to medium peaks that stand up but curl slightly at the tips. Do not overbeat to a dry or clumpy texture.
- Add about one third of the meringue to the yolk batter and gently fold with a spatula to lighten the mixture. Add another third of the meringue and fold again with slow, sweeping motions, turning the bowl and cutting through the center.
- Fold in the final third of the meringue just until no large white streaks remain, keeping the batter as airy as possible without overmixing.
- Divide the batter evenly among the lined muffin cups, filling each about 80 to 90 percent full. Tap the pan lightly on the counter 2 to 3 times to release large air bubbles and wipe off any batter on the pan surface.
- Place the muffin pan on the lower-middle oven rack and bake at 300°F (150°C) for 20 to 23 minutes, or until the cupcakes have risen, look set on top, and show a very light golden ring around the edges. The centers should jiggle slightly when the pan is gently nudged.
- Turn off the oven and crack the door open a few inches. Leave the cupcakes inside for 5 to 10 minutes to cool gradually and help prevent dramatic sinking.
- Transfer the pan to a cooling rack and let the cupcakes rest in the pan for another 10 minutes. Then carefully lift them out of the pan and place directly on the rack to cool completely.
- Just before serving, dust the cooled cupcakes lightly with powdered sugar. Top with fresh berries, a small spoonful of jam or lemon curd, or a little whipped cream if desired, keeping toppings light to preserve the cotton-soft texture.
Notes
Approximate per cupcake (1 of 12, without optional toppings): 120–140 calories; fat 9 g; saturated fat 5 g; carbohydrates 7 g; fiber 0 g; sugars 6 g; protein 4 g; sodium 120 mg. Values are estimates and will vary based on specific ingredients, toppings, and portion size.