
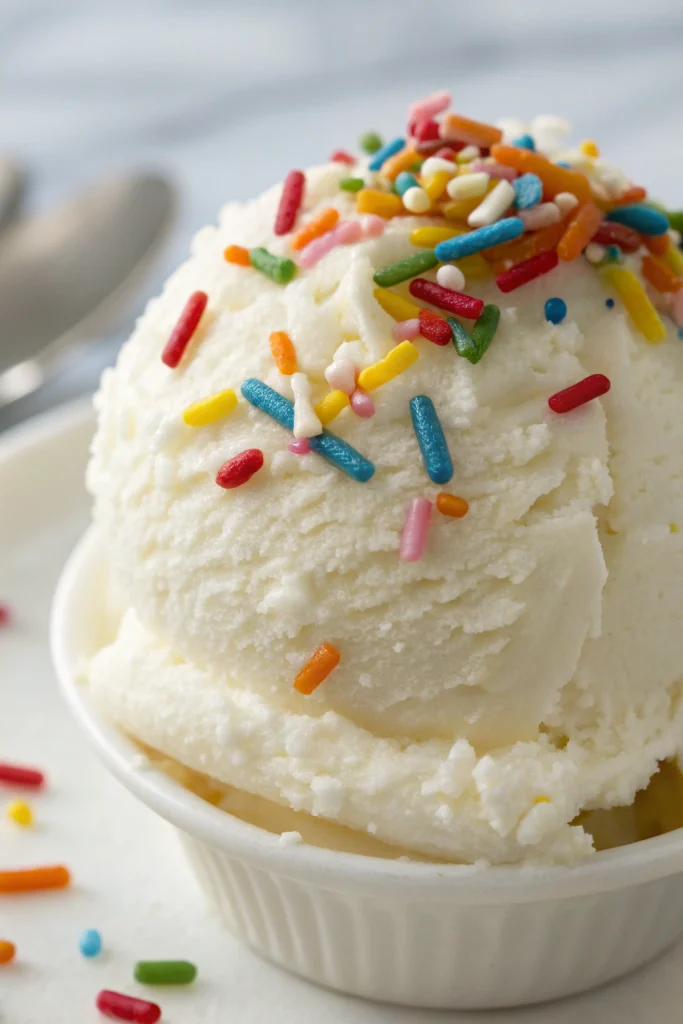
Snow Ice Cream Recipe tastes like a cross between soft-serve and fresh whipped cream, with a light, fluffy texture that feels like dessert clouds. It works perfectly for families, kids, and anyone who wants a five-minute winter treat from fresh, clean snow. I grew up in the Midwest and still get giddy when the forecast calls for “enough snow to make ice cream.”
Why Choose This Snow Ice Cream Recipe
This Snow Ice Cream Recipe uses simple pantry ingredients and fresh snow, so you skip any fussy cooking or chilling. You mix everything in one bowl, which means kids can help and you clean up in minutes.
The flavor leans creamy and vanilla-forward, not icy or bland. You control sweetness and add-ins, so the recipe fits both sugar-loving kids and adults who prefer a lighter dessert.
“I never thought snow could taste this good. My kids ask for this Snow Ice Cream Recipe every time it snows, and I love that it takes less than 10 minutes from snow to spoon.”
Ingredients You’ll Need
- Fresh, clean snow
- About 8 cups loosely packed, freshly fallen snow
- Scoop from a clean surface away from roads, sidewalks, and trees
- Whole milk or half-and-half
- Use whole milk for lighter texture, half-and-half for richer flavor
- Plant-based option: use full-fat canned coconut milk for a coconut twist
- Heavy cream (optional but amazing)
- A splash of heavy cream gives a soft-serve style texture
- Granulated sugar
- Start with 1/3 cup and adjust to taste
- Use superfine sugar if you have it, since it dissolves faster
- You can use powdered sugar in a pinch; reduce the amount slightly because it tastes sweeter
- Pure vanilla extract
- Use real vanilla extract, not imitation, for the best flavor
- Vanilla bean paste works great and adds pretty specks
- Pinch of fine sea salt
- Balances sweetness and makes the vanilla flavor pop
Optional mix-ins and toppings:
- Mini chocolate chips or finely chopped chocolate
- Crushed cookies or graham crackers
- Sprinkles
- Mini marshmallows
- A drizzle of chocolate syrup or caramel sauce
- Crushed peppermint candies in winter holiday season
Equipment list:
- Large mixing bowl (chilled in the freezer for 10 minutes if possible)
- Large spoon or silicone spatula
- Measuring cups and spoons
- Ladle or large spoon for serving
- Ice cream bowls or mugs
Pantry shortcuts and notes:
- Use pre-sweetened condensed milk instead of sugar and part of the milk for a richer, almost fudgy Snow Ice Cream Recipe.
- Keep a small bottle of good vanilla extract on hand; it turns basic snow into a dessert that tastes bakery-level.
- If you only have 2 percent milk, add a spoonful of butter or cream cheese to bump up richness, then whisk it into the milk before you add snow.
Tips & Tricks
- Scoop snow from a clean, untouched area and avoid yellow, gray, or packed snow.
- Chill your mixing bowl and spoon in the freezer for 10 minutes so the snow melts more slowly.
- Mix the liquid base first in the bowl, then add snow; this method keeps the texture fluffy and prevents overmixing.
- Add snow gradually until you reach a soft-serve consistency; stop before it turns dry or crumbly.
- Taste as you go and adjust sugar and vanilla; cold desserts need slightly more sweetness and flavor.
- Serve Snow Ice Cream Recipe immediately, since it melts faster than regular ice cream.
- If the mixture turns too soft, stir in a bit more snow or pop the bowl into the freezer for 5 to 10 minutes.
- Keep mix-ins small and light; large chunks weigh down the fluffy texture.
- Use plant-based milk and coconut cream plus dairy-free chocolate chips for a vegan-friendly version.
- Avoid strong flavors like too much peppermint extract, which can overpower the delicate vanilla-snow flavor.
How to Make Snow Ice Cream Recipe
Step 1: Mix the sweet cream base
In a large chilled bowl, whisk together milk, optional heavy cream, sugar, vanilla extract, and a pinch of salt. Stir until the sugar dissolves completely and the mixture tastes slightly sweeter than you want the final dessert. Set the bowl back in the fridge or outside in the cold while you gather the snow.
Step 2: Collect fresh snow
Head outside with a clean container and scoop about 8 cups of freshly fallen, fluffy snow. Avoid snow that sat for hours near roads or walkways. Work quickly so the snow stays light and airy, then bring it inside right away.
Step 3: Combine snow with the base
Take the chilled sweet cream base from the fridge. Add 3 to 4 cups of snow to the bowl and gently fold with a large spoon or spatula. Continue to add snow, 1 cup at a time, until the mixture reaches a soft, scoopable consistency that looks like soft-serve.
Step 4: Adjust flavor and texture
Taste the Snow Ice Cream Recipe and adjust sweetness with a teaspoon of sugar at a time if needed. Add a few drops more vanilla if you want a stronger flavor. If the texture feels too loose, fold in a bit more snow; if it feels too stiff or icy, splash in a tablespoon of milk and stir gently.
Step 5: Add mix-ins
Sprinkle in mini chocolate chips, sprinkles, or crushed cookies and fold just until they spread evenly. Keep stirring gentle so you protect the fluffy texture. If kids help, give each person a small bowl and let them stir in their own toppings.
Step 6: Serve and enjoy
Scoop the Snow Ice Cream Recipe into bowls or mugs. Top with extra sprinkles, a drizzle of chocolate syrup, or mini marshmallows. Serve right away while it still tastes light and cloud-like.
What to Serve with Snow Ice Cream Recipe
Serve Snow Ice Cream Recipe with warm elements to contrast the cold, like hot cocoa, herbal tea, or warm apple cider. Add a plate of simple cookies such as sugar cookies, chocolate chip cookies, or snickerdoodles. Fresh fruit like sliced bananas, berries, or clementine segments pairs nicely with the creamy vanilla flavor. If you host a snow day gathering, set up a topping bar with sprinkles, crushed cookies, mini marshmallows, and chocolate chips so everyone customizes their own bowl.
Storage Options
- Store leftover Snow Ice Cream Recipe in an airtight container in the freezer for up to 1 day for best texture.
- Press plastic wrap directly onto the surface before sealing the lid to reduce ice crystals.
- When you want to serve it again, let the container sit at room temperature for 5 to 10 minutes, then stir to fluff it back up.
- If the texture turns too icy after freezing, stir in a splash of milk and a spoonful of sugar, then mix until it softens and smooths out.
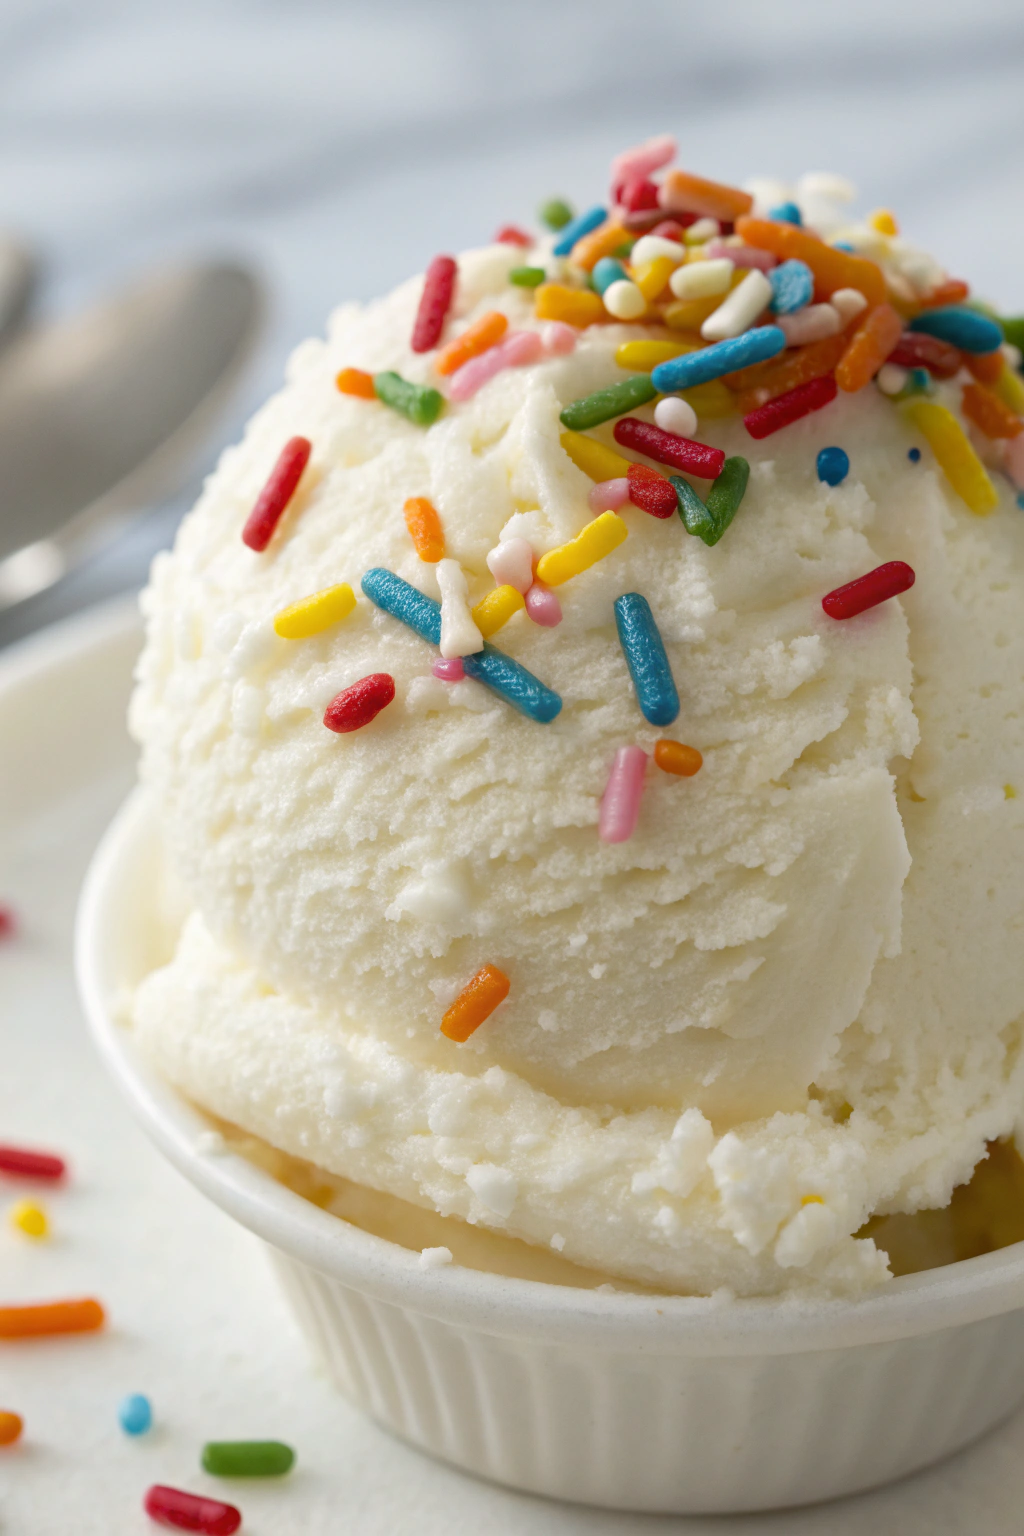
Snow Ice Cream Recipe
Ingredients
Instructions
- In a medium bowl, whisk together the milk, sugar, vanilla extract, and salt (if using) until the sugar is mostly dissolved.
- Place the fresh, clean snow in a large mixing bowl.
- Pour the sweetened milk mixture over the snow and gently fold with a spatula or large spoon until the snow is evenly coated and forms a soft, scoopable consistency. Add more snow if the mixture is too thin, or a splash more milk if too dry.
- Spoon the snow ice cream into bowls immediately. Top with sprinkles or chocolate chips if desired.
- Serve right away for best texture; it will melt quickly at room temperature.
Notes
Approximate per serving (1/4 of recipe): 210 calories; fat 6 g; saturated fat 3.5 g; carbohydrates 36 g; fiber 0 g; sugars 34 g; protein 5 g; sodium 80 mg. Values are estimates and will vary based on milk type, toppings, and portion size.
Leave a Reply