
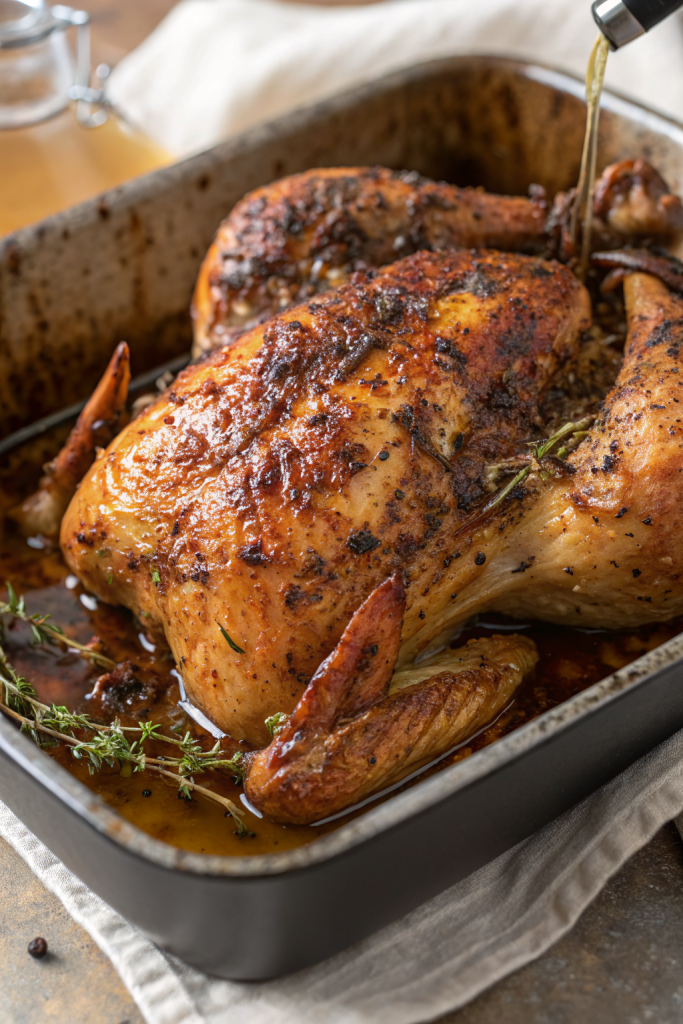
Oven Roasted Garlic Butter Chicken Recipe tastes rich, garlicky, and a little bit fancy while still counting as weeknight comfort food. It works perfectly for busy home cooks who want a one-pan chicken dinner on the table in about 45–55 minutes. I first made this on a Tuesday when I felt tired and grumpy, and the smell of garlic butter in the oven fixed my mood in about five minutes flat.
Why Make This Oven Roasted Garlic Butter Chicken Recipe at Home
This oven roasted garlic butter chicken recipe gives you juicy meat, crispy golden skin, and a buttery pan sauce that tastes like you worked way harder than you did. You toss everything in one pan, slide it into the oven, and the garlic butter does the heavy lifting.
You control the salt, the quality of the butter, and how much garlic you want, so it fits picky eaters and garlic lovers. It also works with bone in, skin on chicken thighs or a whole spatchcocked chicken, so you can use whatever you find on sale.
“This oven roasted garlic butter chicken recipe tastes like restaurant comfort food but cooks in one pan with almost no effort. ★★★★★”
Ingredients You Need
Chicken
- 2 to 3 pounds bone in, skin on chicken thighs or drumsticks
- Thighs stay juicier than breasts and handle high heat better.
- Use a mix of thighs and drumsticks if you want variety.
Garlic Butter Mixture
- 6 tablespoons unsalted butter, softened
- Use good quality butter; European style butter gives richer flavor.
- 6 to 8 large garlic cloves, finely minced or grated
- Jarred minced garlic works in a pinch, use about 2 tablespoons.
- 1 teaspoon kosher salt
- ½ teaspoon freshly ground black pepper
- 1 teaspoon smoked paprika or sweet paprika
- 1 teaspoon dried Italian seasoning or a mix of dried oregano and thyme
- ½ teaspoon onion powder
- 1 tablespoon fresh lemon juice
- 1 teaspoon lemon zest, optional but brightens the flavor
Pan Vegetables (optional but highly recommended)
- 1 pound baby potatoes, halved
- Use Yukon gold or red potatoes; they roast nicely and stay creamy.
- 1 large carrot, sliced into thick coins
- 1 small red onion, cut into wedges
- 1 tablespoon olive oil
- ½ teaspoon kosher salt
- ¼ teaspoon black pepper
Finishing Touches
- Fresh parsley or chives, chopped, for garnish
- Extra lemon wedges for serving
Pantry shortcuts and substitutions
- Use garlic powder if you run out of fresh garlic: 1 to 1½ teaspoons in the butter mixture.
- Use margarine only if you must; butter gives better browning and flavor.
- Use bone in, skin on chicken breasts if you prefer white meat; reduce oven time slightly and check early.
- Use pre cut mixed vegetables like carrot and potato blend from the produce section to save chopping time.
Equipment List
- Large oven safe skillet, cast iron pan, or a 9×13 inch baking dish
- Small bowl to mix garlic butter
- Tongs or a spatula
- Instant read thermometer for checking doneness
- Cutting board and sharp knife
- Aluminum foil, optional, to tent if browning too quickly
Tips & Mistakes
- Pat the chicken dry with paper towels so the skin crisps instead of steaming.
- Use softened butter, not melted, so it clings to the chicken and does not slide off into the pan.
- Season under the skin as well as on top to keep the meat flavorful, not just the surface.
- Avoid crowding the pan; give each piece a little space so the chicken roasts instead of stews.
- Roast at a fairly high temperature, around 400 to 425°F, to crisp the skin and brown the garlic butter.
- Check the garlic pieces; tuck any large bits under the skin or under the chicken so they do not burn.
- Use an instant read thermometer and pull the chicken when it hits 165°F in the thickest part.
- Let the chicken rest 5 to 10 minutes after baking so the juices settle and stay inside the meat.
- Taste the pan juices before serving and adjust salt or lemon so the sauce tastes balanced, not flat.
- Skip broiling if the skin already looks deep golden; you want crispy, not charred.
How to Make Oven Roasted Garlic Butter Chicken Recipe
Step 1: Prep the oven and pan
Preheat your oven to 400°F. Lightly grease your oven safe skillet or baking dish with a thin layer of butter or oil. Set the pan aside while you prep the chicken and vegetables.
Step 2: Prep the chicken
Pat each piece of chicken dry with paper towels. Trim any large excess flaps of skin or fat, but keep most of the skin since it protects the meat and adds flavor. Sprinkle the chicken lightly with salt and pepper on both sides.
Gently loosen the skin over each piece with your fingers to create a small pocket. Do not tear the skin; just slide a finger under it to make space for the garlic butter. This step helps the flavor soak into the meat instead of sitting only on the surface.
Step 3: Mix the garlic butter
In a small bowl, add softened butter, minced garlic, kosher salt, black pepper, smoked paprika, Italian seasoning, onion powder, lemon juice, and lemon zest. Stir until the mixture looks smooth and evenly combined. Taste a tiny bit and adjust salt or lemon if you want a brighter or saltier flavor.
Step 4: Coat the chicken
Use a spoon or your fingers to tuck a small amount of garlic butter under the skin of each piece of chicken. Massage the butter gently so it spreads over the meat under the skin. Rub the remaining garlic butter all over the top and sides of the chicken pieces.
Place the chicken in the prepared pan, skin side up. Space the pieces slightly apart so hot air can circulate and crisp the skin. Any remaining bits of garlic butter can go on top of the chicken or in the pan around it.
Step 5: Add vegetables to the pan
In a separate bowl, toss the baby potatoes, carrot slices, and red onion wedges with olive oil, salt, and pepper. Spread the vegetables around the chicken in a single layer. Try to keep most vegetables in contact with the pan so they roast and soak up the garlic butter drippings.
If the pan looks crowded, use a larger pan or a second small pan for some of the vegetables. Crowded vegetables steam and turn soft instead of caramelizing.
Step 6: Roast the chicken
Place the pan on the middle rack of the oven. Roast for 35 to 45 minutes, depending on the size of your chicken pieces. Rotate the pan halfway through so the chicken browns evenly.
Start checking the internal temperature at the 30 minute mark. Insert the thermometer into the thickest part of a thigh, not touching the bone. When it reads 165°F and the juices run clear, the chicken cooks through.
Step 7: Optional quick broil
If the skin looks pale but the chicken already reaches 165°F, switch the oven to broil on high. Broil for 2 to 3 minutes, watching closely so the garlic does not burn. Pull the pan out when the skin turns deep golden and crisp.
Step 8: Rest and finish
Transfer the pan to a heat safe surface and let the chicken rest for 5 to 10 minutes. During this time the juices redistribute and the vegetables finish softening in the hot pan juices. Sprinkle chopped parsley or chives over the top for a fresh pop of color.
Spoon some of the garlicky butter pan sauce over each piece of chicken right before serving. Add extra lemon wedges on the side so people can squeeze more brightness if they like.
Variations I've Tried
Use fresh herbs like rosemary and thyme in place of dried Italian seasoning for a more garden style flavor. Add them to the butter mixture and tuck a small sprig under the skin of each piece. The kitchen will smell like a rotisserie shop in the best way.
Swap the potatoes and carrots for broccoli florets and cauliflower for a lower carb version. Toss the veggies in a little oil and add them to the pan during the last 20 minutes so they do not overcook. They soak up the garlic butter and taste almost like they came from a sheet pan restaurant side.
Use bone in, skin on chicken breasts and pound the thickest part slightly so they cook more evenly. Start checking them at 25 to 30 minutes since they cook faster than thighs. Keep a close eye on the temperature so the breasts stay juicy.
Add a small pinch of red pepper flakes to the garlic butter if you like a gentle kick. The heat stays mild but cuts through the richness of the butter. Kids often handle this level of spice without complaint.
How to Serve Oven Roasted Garlic Butter Chicken Recipe
Serve this oven roasted garlic butter chicken recipe straight from the pan at the table, family style, so everyone can scoop extra pan juices. Spoon the roasted potatoes and carrots around the chicken and drizzle a bit of garlic butter over everything. Add a crisp green salad, steamed green beans, or roasted asparagus on the side for freshness.
You can also serve it over fluffy white rice, brown rice, or buttered egg noodles so they soak up the sauce. If you pack leftovers for lunch, slice the chicken and layer it over mixed greens with some of the roasted vegetables for an easy meal prep bowl.
How to store
- Cool leftovers to room temperature within 1 hour, then store in airtight containers in the fridge for up to 3 to 4 days.
- Freeze cooked chicken pieces in freezer safe bags or containers for up to 2 months; freeze vegetables separately for best texture.
- Reheat in a 350°F oven, covered, for 15 to 20 minutes until hot, then uncover for a few minutes to re crisp the skin.
- Use the microwave for quick single portions, but add a splash of broth or water and cover loosely so the chicken stays moist.
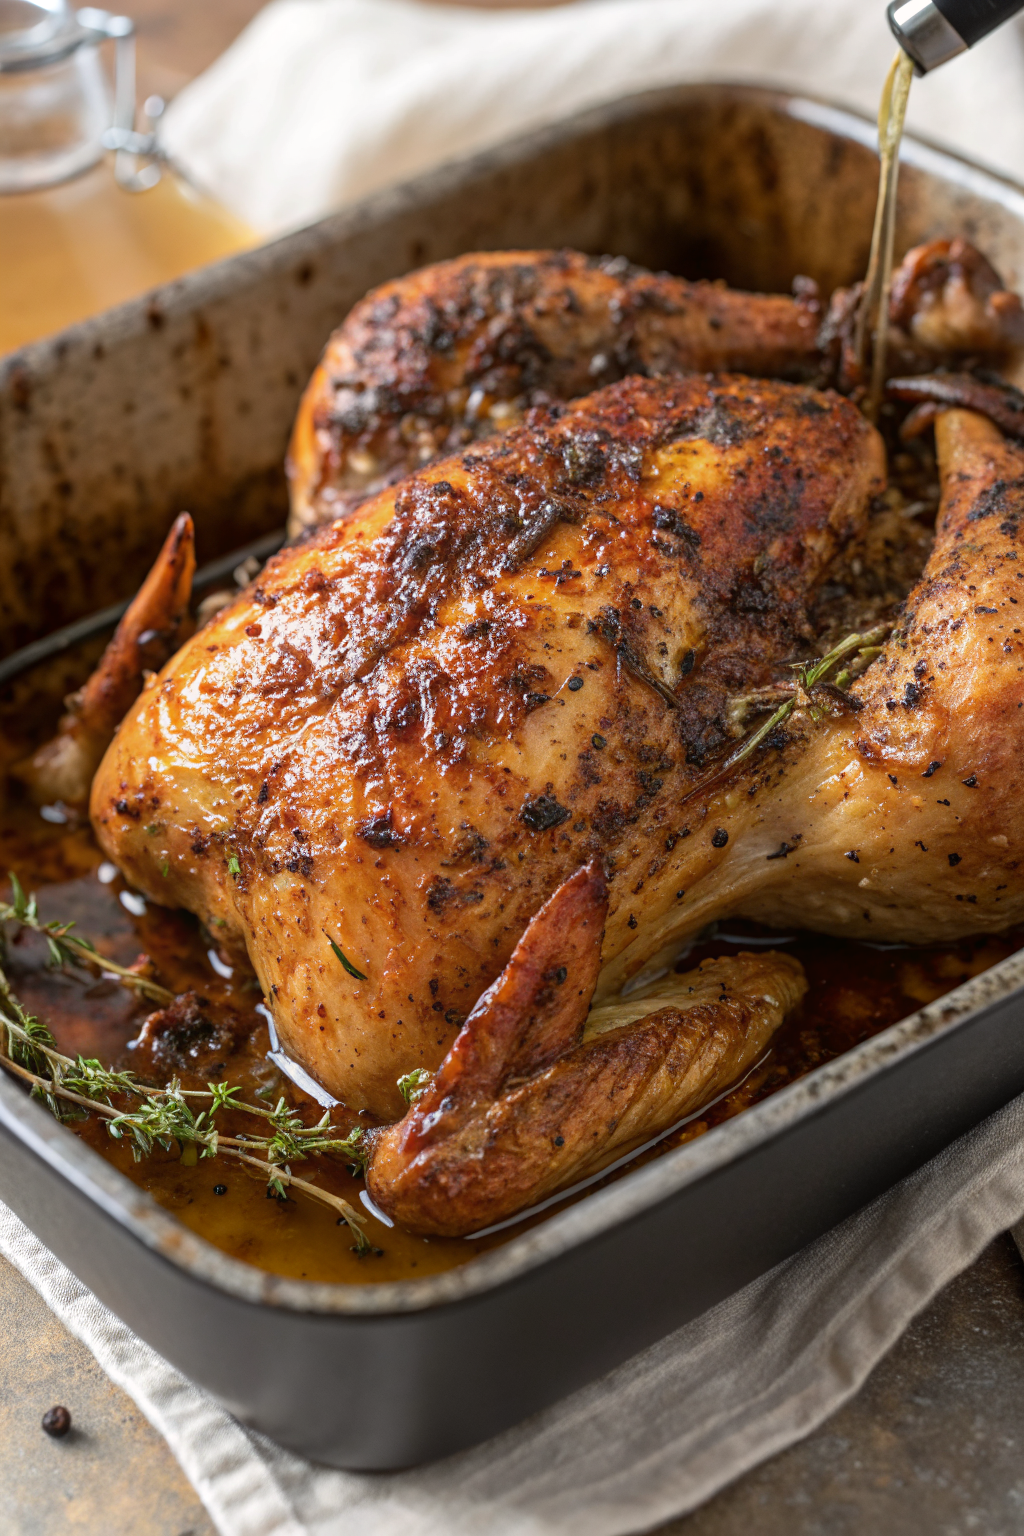
Oven Roasted Garlic Butter Chicken Recipe
Ingredients
Instructions
- Preheat the oven to 400°F (200°C). Lightly grease a large oven safe skillet, cast iron pan, or 9x13 inch baking dish and set aside.
- Pat the chicken pieces dry with paper towels. Trim any large excess flaps of skin or fat, but keep most of the skin. Lightly season both sides of the chicken with kosher salt and black pepper.
- Gently loosen the skin on each piece of chicken with your fingers to create a small pocket without tearing the skin.
- In a small bowl, combine the softened butter, minced garlic, 1 teaspoon kosher salt, 1/2 teaspoon black pepper, paprika, Italian seasoning, onion powder, lemon juice, and lemon zest (if using). Mix until smooth and well combined. Taste and adjust salt or lemon if desired.
- Use a spoon or your fingers to tuck some of the garlic butter under the skin of each piece of chicken, then rub the remaining garlic butter all over the tops and sides of the chicken.
- Arrange the chicken in the prepared pan, skin side up, leaving a little space between pieces so they roast and crisp instead of steam.
- In a separate bowl, toss the baby potatoes, carrot slices, and red onion wedges with olive oil, 1/2 teaspoon kosher salt, and 1/4 teaspoon black pepper. Spread the vegetables around the chicken in a single layer, keeping as many pieces as possible in contact with the pan.
- Place the pan on the middle rack of the oven and roast for 35 to 45 minutes, rotating the pan halfway through. Begin checking the internal temperature at 30 minutes. The chicken is done when it reaches 165°F (74°C) in the thickest part without touching the bone and the juices run clear.
- If the skin is not browned enough when the chicken is cooked through, switch the oven to broil on high and broil for 2 to 3 minutes, watching closely so the garlic does not burn, until the skin is deep golden and crisp.
- Remove the pan from the oven and let the chicken rest for 5 to 10 minutes so the juices redistribute and the vegetables finish softening in the hot pan juices.
- Sprinkle with chopped parsley or chives. Spoon some of the garlicky pan sauce over each piece of chicken, add lemon wedges on the side, and serve with the roasted vegetables.
Notes
Approximate per serving (1/6 of recipe, including some vegetables): 420 calories; fat 27 g; saturated fat 11 g; carbohydrates 16 g; fiber 2 g; sugars 2 g; protein 29 g; sodium 520 mg. Values are estimates and will vary based on exact chicken pieces, added salt, butter brand, and vegetable amounts. Storage
Cool leftovers within 1 hour. Refrigerate in airtight containers for 3–4 days. Freeze cooked chicken (without vegetables for best texture) up to 2 months. Reheat in a 350°F oven, covered, for 15–20 minutes until hot, then uncover briefly to re crisp the skin, or microwave individual portions with a splash of broth or water.
Leave a Reply