
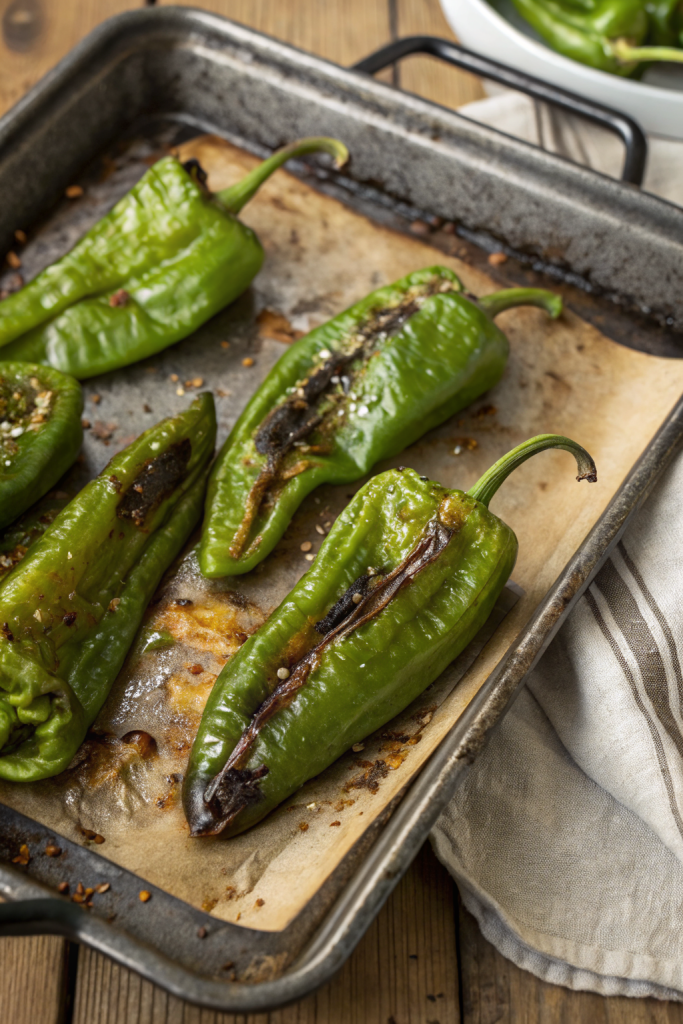
How to Roast Hatch Chile in the Oven tastes smoky, slightly sweet, and just spicy enough to keep things interesting. It works perfectly for busy home cooks who want big flavor in about 30 minutes total time, including prep and roasting. I grew up timing my late-summer grocery runs around Hatch chile season, so this method comes straight from many years of trial, error, and a few singed fingertips.
Why Choose This Roast Hatch Chile in the Oven Recipe
Oven roasting Hatch chile gives you that classic smoky, roasted flavor without standing over a hot grill or gas burner. You control the heat level, the char, and the texture, so every batch turns out exactly how you like it.
This method works in any standard home oven and uses simple equipment you probably already own. You can roast a small batch for dinner or load up a full sheet pan and stock the freezer for months.
“Best guide I’ve used for Hatch chile roasting in years, super easy and consistent every time! ★★★★★”
Ingredients You’ll Need
- Fresh Hatch chiles
- Mild, medium, or hot, depending on your heat tolerance
- Choose firm, glossy peppers with tight skin and no soft spots
- Neutral oil (optional)
- A light brush of avocado or canola oil helps the skin blister more evenly
- Skip the oil if you want a slightly drier roast for salsas
- Kosher salt (optional)
- Sprinkle a tiny bit after roasting if you plan to eat them as a side
- Skip the salt if you plan to use them in already salty dishes like chili or queso
You do not need fancy brands for this recipe. Any fresh Hatch chile from your grocery store, farmers market, or mail-order box works beautifully. If you cannot find Hatch, you can use Anaheim or poblano peppers, but the flavor will taste a bit different and less distinct.
Equipment list
- Large rimmed baking sheet
- Heavy-duty aluminum foil or parchment paper
- Tongs with a good grip
- Large bowl
- Plastic wrap, tight-fitting lid, or a large zip-top bag
- Cutting board and sharp knife
- Disposable gloves if you have sensitive skin
Tips & Tricks
- Choose chiles that feel heavy for their size and show bright green color with smooth skin.
- Roast similar sizes together so they blister at the same rate and avoid tiny peppers burning before larger ones finish.
- Line the baking sheet with foil for easier cleanup and to catch any juices.
- Position the oven rack 6 to 8 inches from the broiler element for strong, direct heat.
- Dry the chiles well after rinsing so they blister instead of steaming.
- Turn the chiles every few minutes so they char evenly on all sides.
- Let the roasted chiles steam in a covered bowl so the skin loosens and peels off easily.
- Use gloves when peeling and seeding if you feel sensitive to chile oils.
- Keep some seeds and membranes if you want extra heat, or remove them for a milder result.
- Roast extra chiles and freeze them in small portions so you can add Hatch flavor to quick weeknight meals.
How to Roast Hatch Chile in the Oven
Step 1: Prep the chiles and pan
Preheat your oven to broil on high. Move the oven rack to the upper third, about 6 to 8 inches from the broiler. Line a rimmed baking sheet with foil or parchment, then lightly coat it with oil if you want easier turning and cleanup.
Rinse the Hatch chiles under cool water and dry them thoroughly with a clean towel. Leave the stems on, since they act like little handles when you turn and peel them. Arrange the chiles in a single layer on the baking sheet so they do not overlap.
Step 2: Broil until blistered on the first side
Slide the baking sheet under the broiler. Roast the chiles for about 4 to 6 minutes, until the skin blisters and blackens in spots. Watch closely, since broilers vary and chiles can go from perfect to overly charred quickly.
You want deep blistering and some black patches, not completely burnt peppers. If your broiler runs hot, check them at the 3-minute mark. Rotate the pan if one side of your oven browns faster than the other.
Step 3: Turn and roast the remaining sides
Use tongs to flip each chile to a new side. Return the pan to the oven and broil another 3 to 5 minutes. Continue to turn the chiles every few minutes until all sides show blistered, charred skin.
Plan on 10 to 12 minutes total roasting time, depending on the size of the chiles and the strength of your broiler. You want the flesh to feel tender when you press it with tongs, with plenty of blistering on every side.
Step 4: Steam the chiles so the skin loosens
Transfer the hot roasted chiles to a large bowl. Cover the bowl tightly with plastic wrap or a lid so the chiles trap their own steam. Let them sit for 10 to 15 minutes.
This short steam time softens the skin and helps it separate from the flesh. The chiles also cool enough so you can handle them without burning your fingers. Do not skip this step, since it makes peeling much easier.
Step 5: Peel the skin
Once the chiles cool slightly, put on gloves if you want extra protection from the chile oils. Gently rub or pull the blistered skin away from the flesh. Most of it should slide off in large pieces.
Use a small knife only if a stubborn patch clings to the chile. Avoid rinsing the peeled chiles under water, since that washes away flavorful juices. Lay the peeled chiles on a cutting board as you work.
Step 6: Remove seeds and stems
Decide how you plan to use your roasted Hatch chile in the oven batch. If you want whole chiles for stuffing, slice a small slit down one side and gently scoop out the seeds and membranes. Keep the stem attached for easier handling.
If you want strips or chopped chiles, remove the stem entirely. Slice the chile open, scrape out the seeds and membranes, then cut into strips or small pieces. Taste a tiny bit and adjust how many seeds you keep based on your heat preference.
Step 7: Use or store the roasted Hatch chile
Use the roasted Hatch chile right away in enchiladas, quesadillas, breakfast burritos, or green chile stew. Stir chopped roasted chile into scrambled eggs, mac and cheese, or queso for a quick flavor boost. Blend it into salsa, green chile sauce, or creamy dips.
If you plan to store it, let the chiles cool completely. Portion them into small containers or freezer bags so you can thaw just what you need. Label each container with the date and heat level so you do not play freezer roulette later.
What to Serve with Roast Hatch Chile
Roasted Hatch chile in the oven pairs beautifully with eggs, potatoes, and tortillas, so breakfast burritos and breakfast bowls make perfect sense. Spoon it over grilled chicken, baked fish, or roasted vegetables for an easy flavor upgrade. Stir it into rice, black beans, or corn for quick side dishes that taste like you worked much harder than you did. Add it to burgers, turkey sandwiches, quesadillas, or even a simple grilled cheese for a spicy, smoky twist.
Storage Options
- Store roasted, peeled Hatch chiles in an airtight container in the fridge for up to 4 to 5 days.
- Freeze cooled chiles in small portions in freezer bags or containers for up to 6 months.
- Press out extra air from freezer bags so the chiles avoid freezer burn and keep better texture.
- Reheat gently in a skillet over low heat or stir them straight from the fridge or freezer into soups, stews, and casseroles so they warm through without turning mushy.
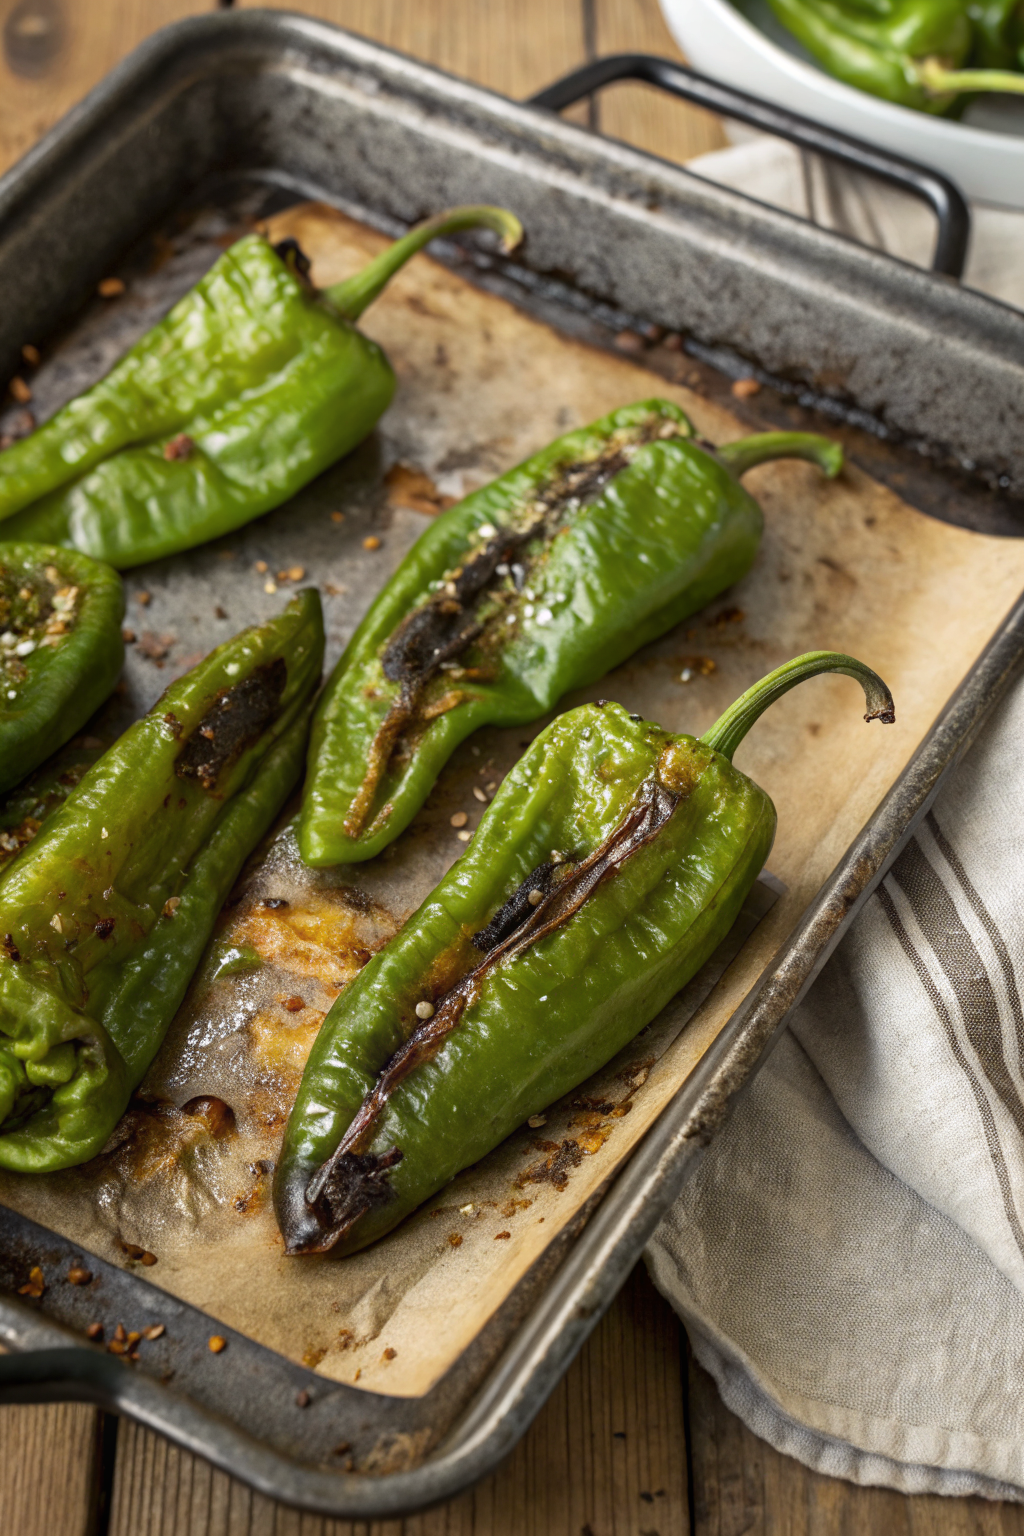
How to Roast Hatch Chile in the Oven
Ingredients
Instructions
- Preheat your oven to broil on high. Move the oven rack to the upper third of the oven, about 6 to 8 inches from the broiler element. Line a large rimmed baking sheet with heavy-duty foil or parchment paper. If using, lightly brush the lined pan with neutral oil for easier turning and cleanup.
- Rinse the Hatch chiles under cool water, then dry them thoroughly with a clean towel so they blister instead of steam. Leave the stems on to use as handles. Arrange the chiles in a single layer on the prepared baking sheet, making sure they do not overlap.
- Place the baking sheet under the broiler. Roast the chiles for 4 to 6 minutes, watching closely, until the skin blisters and blackens in spots. You want deep blistering with some black patches but not completely burnt peppers. Rotate the pan if one side of your oven browns faster than the other, and start checking as early as 3 minutes if your broiler runs hot.
- Use tongs to flip each chile to expose a new side. Return the pan to the oven and broil for another 3 to 5 minutes. Continue turning the chiles every few minutes until all sides show blistered, charred skin. Total roasting time will be about 10 to 12 minutes, depending on chile size and broiler strength. The flesh should feel tender when pressed with tongs.
- Transfer the hot roasted chiles to a large bowl as soon as they are done. Cover the bowl tightly with plastic wrap or a lid so the chiles can steam in their own heat. Let them sit for 10 to 15 minutes to loosen the skins and cool slightly for easier handling. Do not skip this steaming step.
- Once the chiles are cool enough to handle, put on disposable gloves if you are sensitive to chile oils. Gently rub or pull the blistered skin away from the flesh. Most of the skin should slide off in large pieces. Use a small knife only for stubborn spots, and avoid rinsing the peeled chiles under water so you do not wash away flavorful juices.
- For whole chiles to stuff, make a small slit down one side and gently scoop out the seeds and membranes, leaving the stem attached for easier handling. For strips or chopped chiles, remove the stem entirely, slice the chile open, scrape out the seeds and membranes, then cut the flesh into strips or small pieces. Taste a small piece and adjust how many seeds you keep based on your heat preference.
- Use the roasted Hatch chiles right away in enchiladas, quesadillas, breakfast burritos, scrambled eggs, mac and cheese, queso, or green chile stew. You can also blend them into salsa, green chile sauce, or creamy dips, or spoon them over grilled chicken, fish, potatoes, or vegetables.
- To store, let the roasted chiles cool completely. Portion them into small airtight containers or freezer bags, pressing out extra air. Label with the date and heat level. Refrigerate for 4 to 5 days or freeze for up to 6 months. Reheat gently in a skillet over low heat or add directly from the fridge or freezer to soups, stews, and casseroles so they warm through without turning mushy.
Notes
Approximate per 1/2-cup serving of roasted Hatch chiles (about 90 g), without added oil or salt: 30 calories; fat 0.5 g; saturated fat 0 g; carbohydrates 7 g; fiber 2 g; sugars 4 g; protein 1 g; sodium 5 mg. Using oil for roasting will increase calories and fat slightly. Values will vary based on chile size, exact quantity, and added ingredients such as oil and salt.
Leave a Reply