
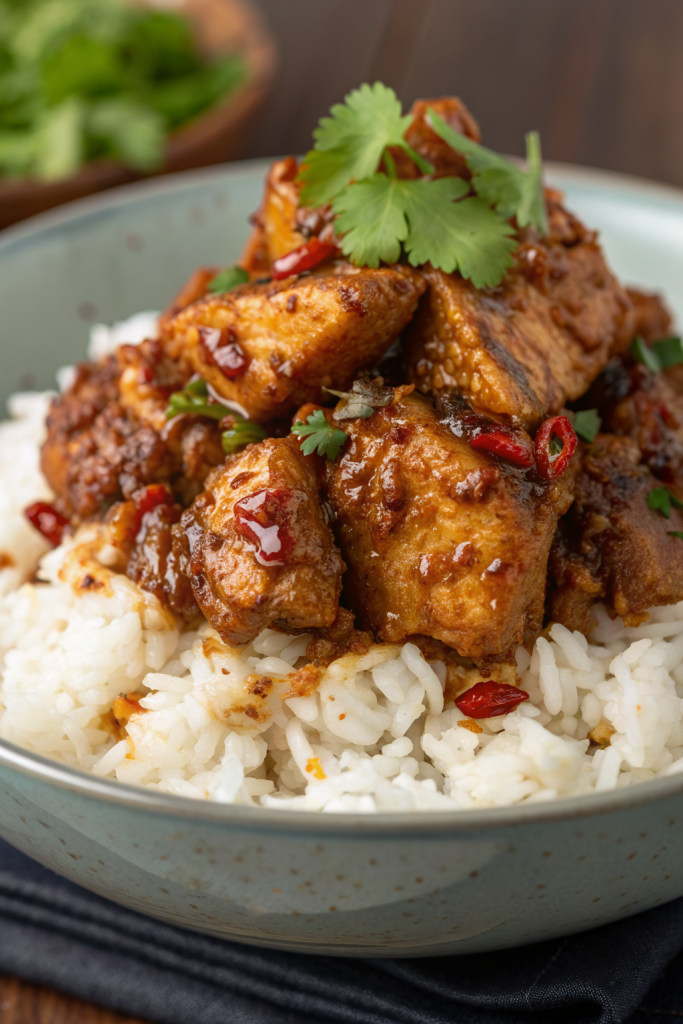
Pan Fried Korean Soy Garlic Chicken Thighs Recipe hits that perfect spot between sticky, garlicky, and slightly sweet with crispy edges and juicy meat in under 40 minutes. It suits busy weeknights, meal prep fans, and anyone who loves big Korean flavors without deep frying or a long ingredient hunt. I tested this on my own picky family, and they stopped talking mid-bite, which counts as the highest compliment in my house.
Why Make This Pan Fried Korean Soy Garlic Chicken Thighs Recipe at Home
You get all the flavor of Korean fried chicken without a pot of hot oil or a smoky kitchen. The soy garlic glaze clings to the chicken, tastes bold, and still feels light enough for a weeknight dinner.
You control the sweetness, the salt, and the spice level, so kids and heat lovers both stay happy. You also use one pan, simple pantry staples, and budget friendly chicken thighs that stay juicy every single time.
“This pan fried Korean soy garlic chicken tastes like takeout-level perfection with crispy edges and sticky sauce, but it comes from my own skillet at home. ★★★★★”
Ingredients You Need
Chicken
-
2 pounds boneless skinless chicken thighs
- Trim extra fat, but keep some for flavor.
- You can use bone-in thighs, but they need a longer cook time and a lid on the pan.
-
1 teaspoon kosher salt
-
1 teaspoon black pepper
-
2 tablespoons cornstarch
- This gives a light crust and helps the sauce cling.
- Potato starch also works and tastes very close to Korean fried chicken coating.
Soy Garlic Marinade & Sauce
You use one mixture for both marinade and glaze, which saves time and dishes.
-
1/3 cup low sodium soy sauce
- Regular soy sauce works, but tastes saltier, so cut the added salt a bit.
- I like Kikkoman or a good Korean brand like Sempio.
-
3 tablespoons honey
- Brown sugar or a mix of honey and brown sugar also works.
-
2 tablespoons brown sugar
-
2 tablespoons rice vinegar
- Apple cider vinegar works in a pinch, but tastes a bit sharper.
-
1 tablespoon mirin or mild cooking rice wine
- If you skip this, add 1 extra teaspoon sugar for balance.
-
5 cloves garlic, very finely minced or grated
-
1 teaspoon fresh ginger, grated
-
1 to 2 teaspoons gochujang (Korean red pepper paste), optional
- This adds a gentle heat and deep flavor.
- Use 1 teaspoon for mild, 2 teaspoons for medium heat.
-
1 teaspoon toasted sesame oil
-
1/4 teaspoon black pepper
For Cooking & Garnish
- 2 tablespoons neutral oil
- Use avocado, canola, or grapeseed oil.
- 1 teaspoon butter, optional, for extra richness
- 1 tablespoon sesame seeds
- 2 green onions, thinly sliced
Equipment
- Large heavy skillet
- Cast iron or stainless steel browns the chicken best.
- Small bowl and whisk
- Cutting board and sharp knife
- Tongs or a spatula
- Small saucepan (optional, if you want to reduce the sauce separately)
Tips & Mistakes
- Pat the chicken thighs dry before seasoning so they brown instead of steam.
- Cut the thighs into similar sized pieces so they cook at the same speed.
- Do not crowd the pan; cook in two batches if needed so the chicken gets a crust.
- Heat the pan fully before adding chicken so the surface sizzles on contact.
- Use low sodium soy sauce if possible so the sauce does not taste too salty.
- Taste the marinade before adding to chicken and adjust sweetness or spice.
- Do not skip cornstarch or potato starch if you want that light crisp texture.
- Keep the heat at medium to medium high; high heat can burn the garlic and sugar.
- Stir the sauce often while it thickens so it does not stick or scorch.
- Pull the chicken off the heat when it reaches 165°F so it stays juicy and tender.
How to Make Pan Fried Korean Soy Garlic Chicken Thighs Recipe
Step 1: Prep the Chicken
Trim extra fat from the chicken thighs and cut large pieces into 2 or 3 smaller chunks. Aim for pieces about 2 inches wide so they cook evenly. Pat them dry with paper towels, then season with salt and pepper.
Sprinkle cornstarch over the thighs and toss until they look lightly coated. The surface should feel slightly tacky, not wet and gloopy. Set the chicken aside while you mix the marinade and sauce.
Step 2: Mix the Soy Garlic Marinade and Sauce
In a small bowl, whisk soy sauce, honey, brown sugar, rice vinegar, mirin, garlic, ginger, gochujang, sesame oil, and black pepper. Taste a small drop and adjust sweetness or heat to your liking. If it tastes too salty, add a teaspoon of water and a bit more honey.
Scoop out 3 tablespoons of this mixture into a separate small bowl. Use that small portion as a quick marinade for the chicken. Keep the rest as your cooking sauce and glaze.
Step 3: Marinate the Chicken Briefly
Pour the 3 tablespoons of marinade over the chicken and toss to coat. Let the chicken sit at room temperature for 10 to 15 minutes while you heat the pan and prep garnishes. This short rest lets the flavors soak in without turning the texture mushy.
Slice the green onions and set them aside with the sesame seeds. Keep the remaining sauce near the stove so you can grab it easily once the chicken browns.
Step 4: Brown the Chicken
Heat a large skillet over medium high heat and add the neutral oil. When the oil shimmers and a tiny piece of chicken sizzles on contact, add the chicken in a single layer. Leave space between pieces so they can brown.
Cook the first side for about 4 to 5 minutes without moving it much. Flip the pieces and cook another 4 to 5 minutes until the chicken looks browned and cooked through. If the pan starts to smoke, lower the heat to medium.
Step 5: Check Doneness
Use an instant read thermometer and check the thickest piece of chicken. Aim for 165°F for safe and juicy meat. If the chicken still needs time, lower the heat and cook 2 to 3 more minutes.
Once done, push the chicken to one side of the pan. If the pan looks very dry, add a teaspoon of oil or a small knob of butter. This keeps the sauce from sticking too fast.
Step 6: Thicken the Soy Garlic Sauce
Pour the remaining sauce into the empty side of the pan. Let it bubble over medium heat while you stir it often. The sauce will start thin, then turn glossy and slightly thicker in 2 to 3 minutes.
Once the sauce coats the back of a spoon and looks syrupy, toss the chicken in it. Stir until every piece shines with a sticky glaze. Turn off the heat so the sugar does not overcook.
Step 7: Garnish and Rest
Sprinkle sesame seeds and sliced green onions over the chicken. Let the chicken rest in the pan for 3 to 5 minutes so the juices settle and the sauce clings even more. Taste a small piece and add a tiny splash of soy sauce or a pinch of sugar if you want to tweak the flavor.
Transfer the chicken to a serving plate and spoon any extra sauce from the pan over the top. The glaze will thicken slightly as it cools, which makes it even better over rice.
Variations I've Tried
I swapped honey for all brown sugar and liked the deeper caramel flavor, especially when I paired the chicken with plain steamed rice. I also used chicken breast cut into strips, which tasted good but needed a shorter cook time and extra care to avoid dryness. I tried a version with extra gochujang and a pinch of red pepper flakes, which turned the dish into a spicy main that still kept the soy garlic base.
I tested an air fryer version with the same marinade and a light cornstarch coat, then tossed the cooked chicken in a reduced sauce from the stovetop. I also tried adding a splash of orange juice to the sauce, which gave a citrus twist that worked well with the garlic and soy. My kids liked a milder batch with no gochujang and a bit more honey, which turned it into a sweet soy garlic chicken they devoured.
How to Serve Pan Fried Korean Soy Garlic Chicken Thighs Recipe
Serve these pan fried Korean soy garlic chicken thighs over hot steamed white rice, brown rice, or fluffy jasmine rice so the sauce can soak in. Add a side of kimchi, cucumber salad, or simple sautéed vegetables to balance the rich, sticky glaze. You can also slice the chicken and tuck it into lettuce wraps with rice, shredded carrots, and a drizzle of extra sauce.
This chicken also fits nicely in a rice bowl with sliced avocado, pickled radish, and a fried egg on top. If you pack lunches, spoon the chicken and sauce over rice in meal prep containers and add some steamed broccoli on the side.
How to store
- Fridge: Cool the chicken completely, then store it in an airtight container in the refrigerator for up to 3 to 4 days.
- Freezer: Place cooled chicken in a freezer safe container or bag, remove as much air as possible, and freeze for up to 2 months.
- Reheat on stovetop: Reheat in a skillet over medium low heat with a splash of water to loosen the sauce, stirring until hot and glossy.
- Reheat in microwave: Cover loosely and heat in short bursts, stirring between each, until warmed through.
- From frozen: Thaw overnight in the fridge, then reheat on the stovetop for the best texture and flavor.
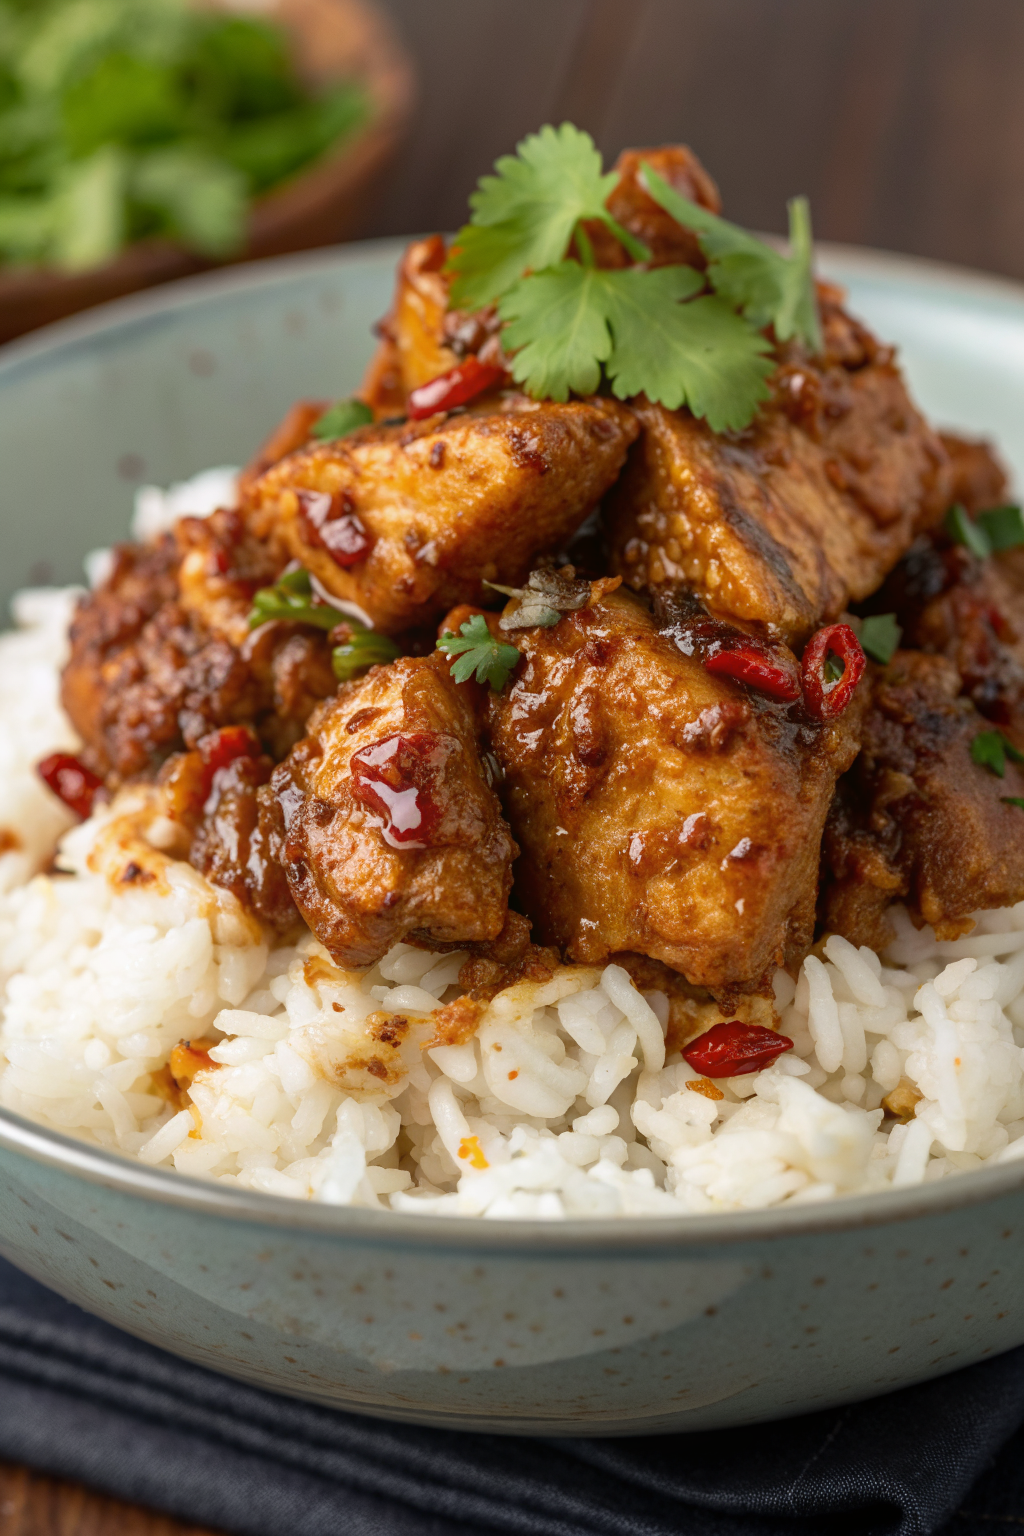
Pan Fried Korean Soy Garlic Chicken Thighs Recipe
Ingredients
Instructions
- Trim excess fat from the chicken thighs and cut larger pieces into 2-inch chunks so they cook evenly.
- Pat the chicken dry with paper towels, then season with kosher salt and black pepper.
- Sprinkle the cornstarch over the chicken and toss until the pieces are lightly coated and feel slightly tacky. Set aside.
- In a small bowl, whisk together the soy sauce, honey, brown sugar, rice vinegar, mirin, garlic, ginger, gochujang (if using), toasted sesame oil, and black pepper.
- Taste a small amount of the mixture and adjust sweetness or heat as desired. If it tastes too salty, add a teaspoon of water and a bit more honey.
- Scoop out 3 tablespoons of this mixture into a separate small bowl to use as a quick marinade for the chicken. Reserve the remaining mixture as the cooking sauce and glaze.
- Pour the reserved 3 tablespoons of marinade over the prepared chicken and toss to coat evenly.
- Let the chicken sit at room temperature for 10–15 minutes while you heat the pan and prep the garnishes.
- Slice the green onions and set them aside with the sesame seeds. Keep the remaining sauce near the stove for later.
- Heat a large heavy skillet over medium-high heat and add the neutral oil.
- When the oil shimmers and a small piece of chicken sizzles on contact, add the chicken in a single layer, leaving space between pieces so they can brown.
- Cook the first side for 4–5 minutes without moving the pieces much, until well browned, then flip and cook another 4–5 minutes, adjusting the heat to medium if the pan starts to smoke.
- Check the thickest piece of chicken with an instant-read thermometer; it should reach 165°F for safe and juicy meat.
- If the chicken is not done, lower the heat and cook for another 2–3 minutes until it reaches temperature.
- Once cooked through, push the chicken to one side of the pan. If the pan looks very dry, add the butter or an extra teaspoon of oil to the empty side.
- Pour the remaining soy garlic sauce into the empty side of the pan.
- Let the sauce bubble over medium heat, stirring often, until it becomes glossy and slightly thickened, about 2–3 minutes.
- Toss the chicken pieces in the thickened sauce until every piece is well coated with a sticky glaze, then turn off the heat.
- Sprinkle the glazed chicken with sesame seeds and sliced green onions.
- Let the chicken rest in the pan for 3–5 minutes so the juices settle and the sauce clings well.
- Transfer to a serving plate, spooning any extra sauce from the pan over the top. Serve hot, ideally over steamed rice or with your favorite sides.
Notes
Approximate per serving (1/6 of recipe): 320 calories; fat 15 g; saturated fat 3 g; carbohydrates 20 g; fiber 0 g; sugars 16 g; protein 26 g; sodium 780 mg. Values will vary based on exact ingredients, brands, and portion size. Storage
Fridge: Cool completely and store in an airtight container for up to 3–4 days. Freezer: Store in a freezer-safe container or bag for up to 2 months. Reheat gently on the stovetop with a splash of water to loosen the sauce, or in the microwave in short bursts, stirring between each. For best texture, thaw frozen portions overnight in the refrigerator before reheating.
Leave a Reply