
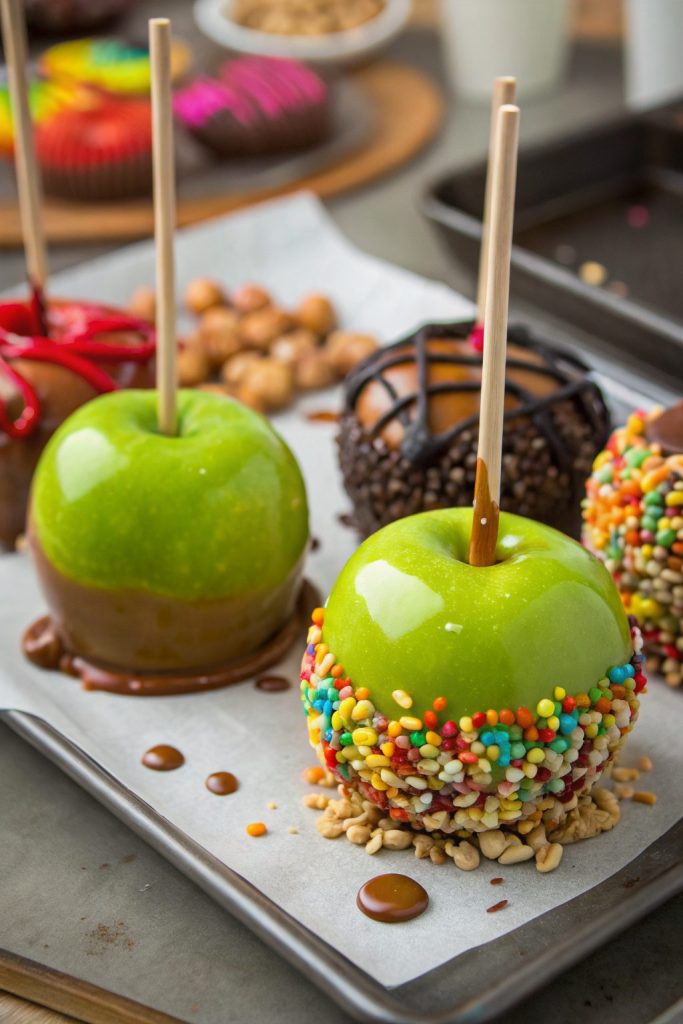
How to Make Caramel Apples tastes like a crisp fall fair in your kitchen, with glossy caramel that hugs every bite of tart apple. It works for busy parents, party hosts, or anyone who wants a fun dessert in about 45 minutes, including cooling time. I still remember burning my very first batch of caramel in a tiny apartment and eating the “ruined” apples anyway, so you are in good company here.
Why Make This How to Make Caramel Apples at Home
Homemade caramel apples taste fresher, crunchier, and richer than anything you buy at a store. You control the sweetness, the toppings, and the quality of the ingredients, so every apple fits your taste.
You also turn a simple dessert into an activity that kids and adults enjoy together. The process feels simple once you know a few tricks, and the results look like they came from a fancy candy shop.
“These homemade caramel apples taste like a county fair treat with better ingredients and zero leftovers.” ★★★★★
Ingredients You Need
Apples
- 8 small to medium apples
- Choose firm, crisp apples: Granny Smith, Honeycrisp, Fuji, or Gala.
- Smaller apples coat more easily and feel easier to eat.
- Avoid waxy apples when possible or remove the wax before dipping.
Caramel
- 1 cup (2 sticks) unsalted butter
- 2 cups packed light brown sugar
- 1 cup light corn syrup
- 1 can (14 ounces) sweetened condensed milk
- 1 teaspoon vanilla extract
- 1 teaspoon fine sea salt or kosher salt
Notes and swaps:
- Use light corn syrup for smooth caramel that does not crystallize easily.
- Use dark brown sugar for deeper molasses flavor if you like stronger caramel.
- Use store‑bought soft caramel candies in a pinch: melt 22–24 ounces with 2–3 tablespoons of heavy cream.
Toppings
Pick a few so the apples look fun and varied.
- Chopped roasted peanuts or almonds
- Mini chocolate chips
- Crushed pretzels
- Crushed cookies or graham crackers
- Sprinkles
- Toasted coconut flakes
- Flaky sea salt for a sweet salty finish
Sticks and Equipment
- 8 wooden sticks, popsicle sticks, or sturdy skewers
- Heavy‑bottomed saucepan (3 quart or larger)
- Candy thermometer
- Silicone spatula or wooden spoon
- Baking sheet lined with parchment paper or a silicone mat
- Small bowls for toppings
- Clean kitchen towel and paper towels
- Heatproof measuring cup if you want to drizzle chocolate later
Tips & Mistakes
-
Dry apples completely before dipping or the caramel will slide off.
-
Remove wax from apples by dipping them in hot water for 5–10 seconds, then drying well.
-
Use cold apples from the fridge so the caramel sets faster and clings better.
-
Push sticks straight into the core, not at an angle, so apples stand upright.
-
Use a heavy‑bottomed pan so the caramel heats evenly and does not scorch.
-
Stir gently and steadily; wild stirring can splash sugar onto the sides and cause crystals.
-
Clip a candy thermometer to the pan so the tip sits in the caramel, not on the bottom.
-
Keep the heat at medium or medium‑low; high heat burns caramel fast.
-
Aim for 235–240°F (soft ball stage) for coating apples; hotter caramel turns too hard.
-
Do not walk away from the stove; caramel goes from perfect to burnt in a minute.
-
Tilt the pan and roll each apple slowly for an even coat instead of dunking it wildly.
-
Let excess caramel drip back into the pan so it does not pool around the base.
-
Work quickly once the caramel reaches temperature; it thickens as it cools.
-
If the caramel thickens too much, warm it gently over low heat until it loosens.
-
Add toppings while the caramel feels tacky, not fully set, so they stick well.
-
Chill coated apples briefly if your kitchen runs warm and the caramel sags.
How to Make How to Make Caramel Apples
Prep the apples
- Wash the apples in hot water and rub them with a clean towel to remove any wax.
- Dry them very well so no water remains on the skin.
- Remove stems and insert a wooden stick straight down through the core of each apple.
- Place apples on a parchment‑lined baking sheet and chill them in the fridge while you cook the caramel.
Cook the caramel
-
Add butter, brown sugar, corn syrup, and sweetened condensed milk to a heavy saucepan.
-
Set the pan over medium heat and stir until the butter melts and the mixture looks smooth.
-
Attach a candy thermometer to the side of the pan.
-
Continue to cook, stirring slowly but constantly, until the caramel reaches 235–240°F.
-
Once it hits temperature, remove the pan from heat.
-
Stir in vanilla and salt until the caramel looks glossy and even.
-
Let the caramel sit for 3–5 minutes so it thickens slightly; this helps it cling to the apples.
-
Set up your topping bowls near the stove so you can move quickly.
Dip the apples
-
Take the chilled apples out of the fridge.
-
Hold one apple by the stick and tilt the pan of caramel slightly.
-
Dip the apple into the caramel and rotate it slowly so the caramel coats it evenly up to the top.
-
Lift the apple out and let the excess drip back into the pan while you twist it gently.
-
Turn the apple upside down for a few seconds so the caramel settles smoothly.
-
Place the apple on the parchment‑lined baking sheet.
-
Repeat with the remaining apples, working steadily so the caramel stays fluid.
-
If the caramel thickens, warm it gently over low heat and stir until smooth again.
Add toppings and set
-
While the caramel still feels tacky, roll or sprinkle each apple in your chosen toppings.
-
Press larger toppings like cookies or pretzels on by hand so they stick firmly.
-
Leave a few apples plain if you like a classic caramel apple.
-
Let the apples sit at room temperature for 30–40 minutes until the caramel sets.
-
Chill the tray for 10–15 minutes if your kitchen feels warm and the caramel droops.
-
Once the caramel firms up, peel each apple gently from the parchment.
-
Wipe away any caramel “feet” at the base with a clean knife if you want a neat look.
-
Serve right away or store them as described below.
Variations I've Tried
-
Salted chocolate drizzle
Melt 1/2 cup chocolate chips with 1 teaspoon coconut oil, then drizzle over set caramel apples and sprinkle with flaky salt. The chocolate adds a nice snap against the chewy caramel. -
Peanut butter crunch
Stir 2–3 tablespoons creamy peanut butter into the hot caramel after you remove it from the heat. Roll the dipped apples in chopped roasted peanuts for a candy bar vibe. -
S’mores caramel apples
Coat caramel apples in crushed graham crackers, mini marshmallows, and a few mini chocolate chips. Kids go wild for this version at fall parties. -
Cinnamon toast apples
Mix cinnamon sugar with crushed cinnamon cereal and roll the caramel apples in the mixture. The cereal adds crunch and a nostalgic breakfast flavor.
How to Serve How to Make Caramel Apples
Serve caramel apples slightly chilled or at cool room temperature so the caramel feels firm but still chewy. Cut them into thick wedges with a sharp knife if you want easier, less messy portions. Pair them with hot chocolate, apple cider, or a simple glass of cold milk for a cozy treat. Add them to a dessert board with sliced fruit, pretzels, and a small bowl of extra caramel for dipping.
How to store
- Room temperature: Keep caramel apples at cool room temperature for up to 1 day on a parchment‑lined plate, loosely covered.
- Fridge: Store in the fridge for 3–4 days, each apple wrapped lightly in wax paper or parchment to prevent sticking.
- Freezer: Avoid freezing whole caramel apples; the texture of both apple and caramel turns icy and unpleasant.
- Reheating / softening: Let chilled apples sit at room temperature for 20–30 minutes before serving so the caramel softens slightly and the flavors shine.
How to Make Caramel Apples
Ingredients
Instructions
- Wash the apples in hot water and rub them with a clean towel to remove any wax.
- Dry the apples very well so no water remains on the skin.
- Remove the stems and insert a wooden stick straight down through the core of each apple.
- Place the apples on a parchment-lined baking sheet and chill them in the refrigerator while you cook the caramel.
- Add the butter, brown sugar, corn syrup, and sweetened condensed milk to a heavy-bottomed saucepan.
- Set the pan over medium heat and stir until the butter melts and the mixture looks smooth.
- Attach a candy thermometer to the side of the pan, making sure the tip is in the caramel and not touching the bottom.
- Continue to cook, stirring slowly and constantly, until the caramel reaches 235–240°F (soft ball stage).
- Once it reaches temperature, remove the pan from the heat.
- Stir in the vanilla extract and salt until the caramel looks glossy and even.
- Let the caramel sit for 3–5 minutes so it thickens slightly, which helps it cling to the apples.
- Set up small bowls with your toppings near the stove so you can work quickly once you start dipping.
- Remove the chilled apples from the refrigerator.
- Hold one apple by the stick and tilt the pan of caramel slightly.
- Dip the apple into the caramel and rotate it slowly so the caramel coats it evenly up to the top.
- Lift the apple out and let the excess caramel drip back into the pan while you twist it gently.
- Turn the apple upside down for a few seconds so the caramel settles smoothly, then place it on the parchment-lined baking sheet.
- Repeat with the remaining apples, working steadily so the caramel stays fluid. If the caramel thickens too much, warm it gently over low heat and stir until smooth again.
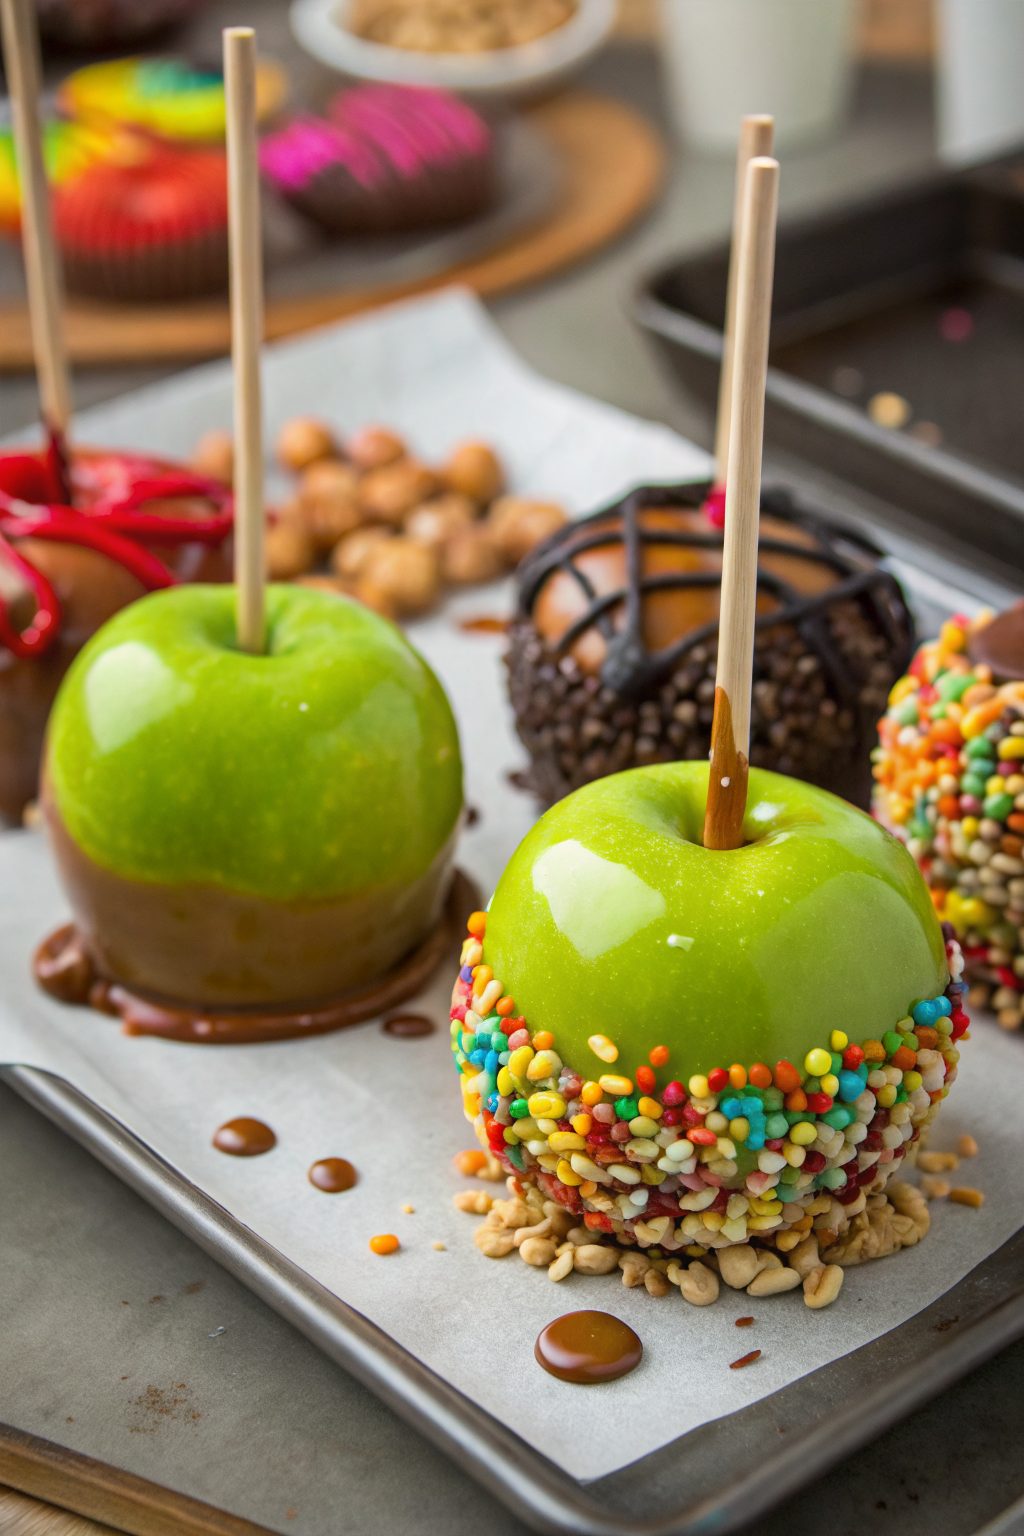
- While the caramel is still tacky, roll or sprinkle each apple in your chosen toppings.
- Press larger toppings like cookies or pretzels on by hand so they stick firmly.
- Leave some apples plain if you like a classic caramel apple.
- Let the apples sit at room temperature for 30–40 minutes until the caramel sets. If your kitchen is warm and the caramel droops, chill the tray for 10–15 minutes.
- Once the caramel firms up, peel each apple gently from the parchment. Wipe away any caramel that has pooled at the base if you want a neat look, then serve.
Notes
Approximate per caramel apple (1 of 8, without toppings): 520 calories; fat 26 g; saturated fat 16 g; carbohydrates 72 g; fiber 3 g; sugars 64 g; protein 5 g; sodium 320 mg. Values will vary based on apple variety, toppings, and exact portion size.
Leave a Reply