
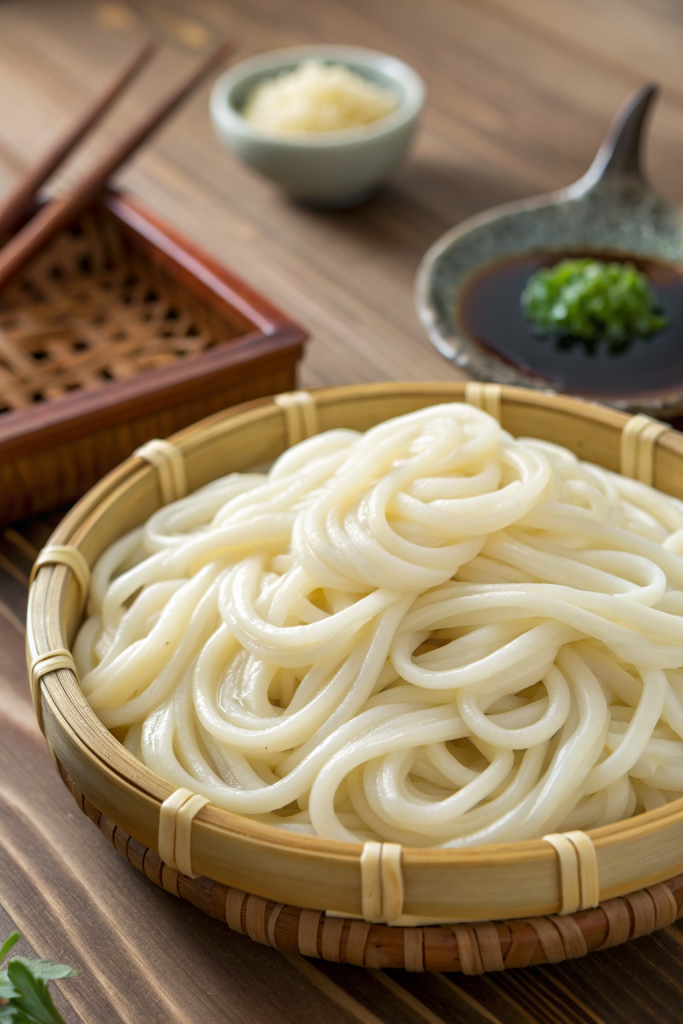
Homemade Udon Noodles Recipe gives you thick, chewy, slurpable noodles that soak up broth and sauce like little champs. This recipe works well for anyone who loves Japanese food, enjoys a simple dough project, and has about 1 hour of mostly hands-off time. I started making udon at home after a rainy-weekend obsession, and I never went back to the packaged stuff.
Why Choose This Homemade Udon Noodles Recipe
This homemade udon noodles recipe uses only three basic ingredients and simple equipment, so beginners feel comfortable right away. The dough feels firm but forgiving, and the final noodles turn out bouncy, chewy, and perfect for soups or stir-fries.
You control the thickness, chew level, and saltiness, which makes these noodles taste fresher than any store-bought pack. You also avoid preservatives and tailor the texture to your favorite udon dishes, from hot broths to chilled dipping bowls.
“These homemade udon noodles taste restaurant-level chewy and springy, but the recipe stays simple enough for a weeknight project. ★★★★★”
Ingredients You’ll Need
Core ingredients
- Bread flour: 3 cups (360 g), plus extra for dusting
- High protein bread flour gives the best chewy texture.
- You can use all-purpose flour in a pinch, but the noodles turn out a bit softer.
- Water: 1 cup (240 ml), room temperature
- Kosher salt or sea salt: 1 tablespoon
Optional flavor tweaks
- Potato starch or cornstarch: a few tablespoons for dusting cut noodles
- Helps prevent sticking and keeps strands separate.
- A few drops of neutral oil (like canola or grapeseed) for the resting bowl
- Keeps the dough from drying out on the surface.
Pantry shortcuts and substitution notes
- Use all-purpose flour if you cannot find bread flour, and knead a few extra minutes to build more gluten.
- Use fine table salt if needed, but reduce the amount slightly since it tastes saltier than kosher salt.
- Use filtered water if your tap water tastes strongly chlorinated, since clean-tasting water gives cleaner noodle flavor.
Equipment list
- Large mixing bowl
- Measuring cups and spoons or a kitchen scale
- Sturdy wooden spoon or chopsticks for mixing
- Clean plastic bag or thick zip-top bag for the “foot kneading” method
- Rolling pin
- Large cutting board or clean counter
- Sharp knife or pizza cutter
- Large pot for boiling noodles
- Colander or strainer
- Kitchen towel or plastic wrap
Tips & Tricks
- Use bread flour for the best chewy, bouncy texture in your homemade udon noodles recipe.
- Dissolve the salt fully in the water before you add it to the flour so the dough hydrates evenly.
- Add the salted water gradually and stop when the dough holds together and feels firm, not sticky.
- Knead with your hands or use the classic “step on the dough in a bag” method to build strong gluten.
- Let the dough rest at least 30 minutes so the gluten relaxes and the dough rolls out more easily.
- Dust the surface and dough lightly with flour so it does not stick but still seals when folded.
- Roll the dough slightly thicker than you think you need, since the noodles swell while boiling.
- Cut the noodles evenly so they cook at the same rate and keep a consistent chew.
- Stir the noodles gently right after they hit the boiling water so they do not clump.
- Rinse cooked noodles in cold water to stop cooking and remove extra surface starch.
How to Make Homemade Udon Noodles Recipe
Mix the dough
- Add the bread flour to a large mixing bowl and level it out.
- Stir the salt into the water until it dissolves completely.
- Drizzle about two thirds of the salted water into the flour while you stir with a wooden spoon or chopsticks.
- Add more water a little at a time until the flour clumps together and forms a shaggy, firm dough.
Knead until smooth
- Transfer the shaggy dough to a clean surface and press it together into a rough ball.
- Knead with the heels of your hands for 8 to 10 minutes until the dough feels smooth, elastic, and quite firm.
- If the dough feels too dry and cracks badly, wet your fingers and work in just a few drops of water.
- If it sticks to your hands, dust with a teaspoon of flour and keep kneading until it tightens up.
Rest the dough
- Shape the dough into a ball and lightly coat it with a drop of neutral oil if you like.
- Place the dough in a bowl and cover it tightly with plastic wrap or a lid.
- Let it rest at room temperature for 30 to 60 minutes so the gluten relaxes and the dough softens slightly.
Optional “foot kneading” method
- Slip the rested dough into a clean, strong plastic bag and seal it with some air inside.
- Place a folded kitchen towel over the bag and gently step on the dough with clean socks or bare feet.
- Press and flatten the dough with your feet for a few minutes, then fold it over itself and repeat.
- Continue until the dough feels very smooth and elastic, then shape it into a ball again and rest 10 more minutes.
Roll out the dough
- Dust your work surface and rolling pin lightly with flour.
- Place the dough ball in the center and flatten it with your hands into a thick disk.
- Roll from the center outward, turning the dough a quarter turn every few passes so it stays roughly square or rectangle shaped.
- Aim for a thickness of about 1/8 to 1/4 inch, depending on how thick you like your udon noodles.
Fold and cut the noodles
- Dust the top of the rolled dough lightly with flour so it does not stick to itself.
- Fold the sheet into thirds like a letter or roll it loosely into a log.
- Use a sharp knife or pizza cutter to slice strips about 1/4 inch wide for classic udon thickness.
- Unfold or unroll the strips and toss them gently with a little flour or starch to keep them separate.
Boil the noodles
- Bring a large pot of water to a strong boil and salt it lightly.
- Shake off excess flour from the noodles and add them to the pot, stirring right away to prevent clumping.
- Cook for 8 to 12 minutes, depending on thickness, until the noodles taste chewy but cooked through.
- Taste a strand to check; it should feel bouncy and tender with a pleasant bite.
Rinse and finish
- Drain the noodles in a colander and rinse under cold running water while you gently rub them with your fingers.
- Swish them in cold water until they feel cool and no longer sticky.
- Use the noodles right away in hot broth, stir-fries, or chilled dipping dishes.
- If you need to hold them briefly, toss with a tiny bit of neutral oil so they do not stick together.
What to Serve with Homemade Udon Noodles Recipe
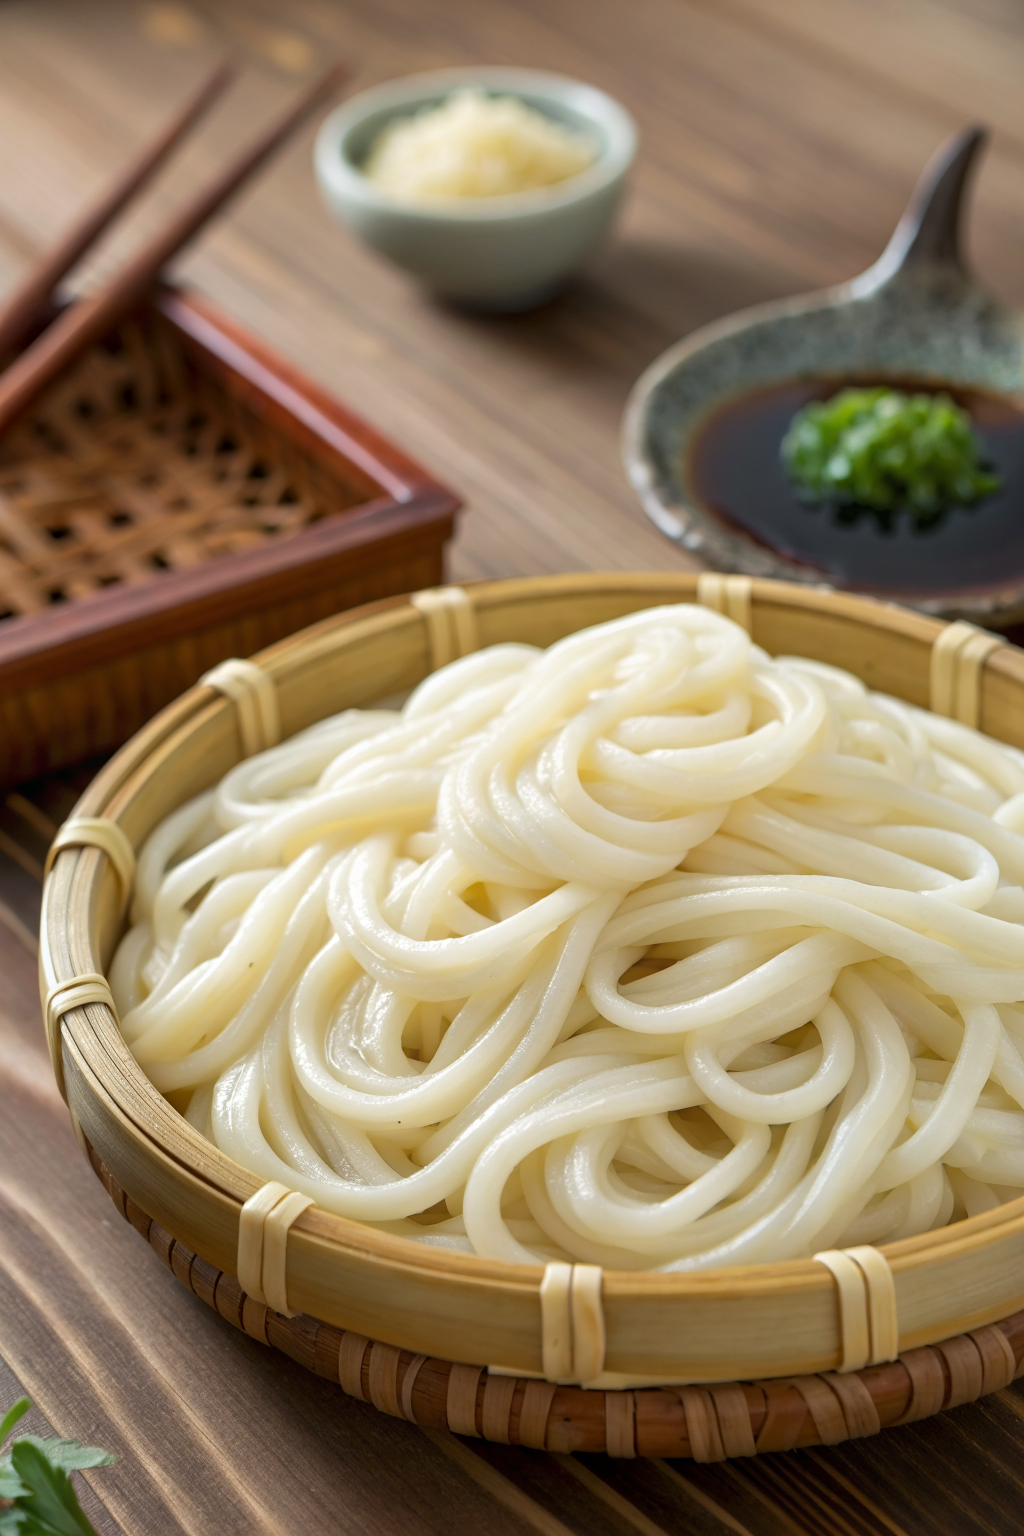
Serve your homemade udon noodles recipe in a simple dashi or vegetable broth with scallions, soy sauce, and a soft-boiled egg for a cozy bowl. Add sautéed mushrooms, tofu, or thinly sliced chicken for extra protein and flavor. You can also stir-fry the noodles with vegetables, soy sauce, and a touch of sesame oil for a quick weeknight dinner. On hot days, chill the noodles and serve them with a soy-based dipping sauce, grated ginger, and sliced cucumbers for a refreshing meal.
Storage Options
- Store cooked, cooled udon noodles in an airtight container in the fridge for up to 3 days.
- Toss the noodles with a teaspoon of neutral oil before chilling so they do not clump.
- Freeze uncooked, cut noodles on a tray until firm, then transfer them to a freezer bag and keep them up to 2 months.
- Boil frozen noodles straight from the freezer and add 1 to 2 extra minutes to the cooking time.
- Reheat cooked noodles by dipping them briefly in boiling water or warming them directly in hot broth or sauce until heated through.
Homemade Udon Noodles Recipe
Ingredients
Instructions
- Add the bread flour to a large mixing bowl and level it out.
- Stir the salt into the water until it dissolves completely.
- Drizzle about two thirds of the salted water into the flour while stirring with a wooden spoon or chopsticks.
- Add more water a little at a time until the flour clumps together and forms a shaggy, firm dough.
- Transfer the shaggy dough to a clean surface and press it together into a rough ball.
- Knead with the heels of your hands for 8 to 10 minutes until the dough feels smooth, elastic, and quite firm.
- If the dough feels too dry and cracks badly, wet your fingers and work in just a few drops of water.
- If it sticks to your hands, dust with a teaspoon of flour and keep kneading until it tightens up.
- Shape the dough into a ball and lightly coat it with a drop of neutral oil if desired.
- Place the dough in a bowl and cover it tightly with plastic wrap or a lid.
- Let it rest at room temperature for 30 to 60 minutes so the gluten relaxes and the dough softens slightly.
- Dust your work surface and rolling pin lightly with flour.
- Place the dough ball in the center and flatten it with your hands into a thick disk.
- Roll from the center outward, turning the dough a quarter turn every few passes so it stays roughly square or rectangular.
- Roll to a thickness of about 1/8 to 1/4 inch, depending on how thick you like your udon noodles.
- Dust the top of the rolled dough lightly with flour so it does not stick to itself.
- Fold the sheet into thirds like a letter or roll it loosely into a log.
- Use a sharp knife or pizza cutter to slice strips about 1/4 inch wide for classic udon thickness.
- Unfold or unroll the strips and toss them gently with a little flour or starch to keep them separate.
- Bring a large pot of water to a strong boil and salt it lightly.
- Shake off excess flour from the noodles and add them to the pot, stirring right away to prevent clumping.
- Cook for 8 to 12 minutes, depending on thickness, until the noodles taste chewy but cooked through.
- Taste a strand to check; it should feel bouncy and tender with a pleasant bite.
- Drain the noodles in a colander and rinse under cold running water while you gently rub them with your fingers.
- Swish them in cold water until they feel cool and no longer sticky.
- Use the noodles right away in hot broth, stir-fries, or chilled dipping dishes, or toss with a tiny bit of neutral oil if you need to hold them briefly.
Notes
Approximate per serving (1/4 of recipe): 380 calories; fat 1 g; saturated fat 0 g; carbohydrates 79 g; fiber 3 g; sugars 0 g; protein 11 g; sodium 1020 mg (from salted dough and cooking water; actual intake will be lower as some salt is discarded). Values are estimates and will vary based on flour type, salt type, and portion size.
Leave a Reply