
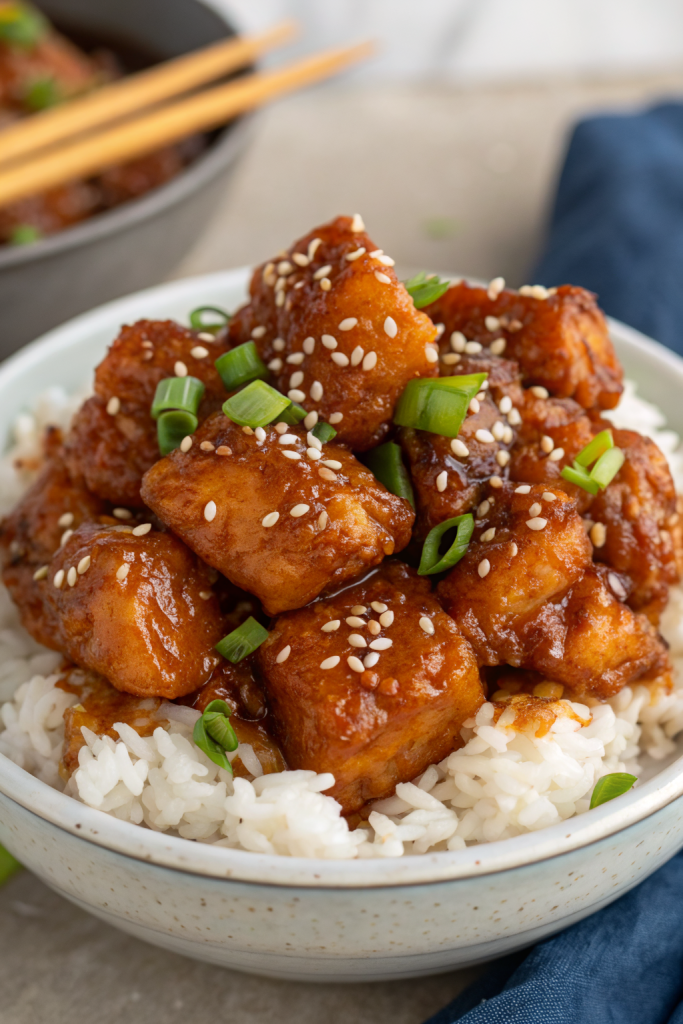
Honey Garlic Chicken Recipe hits that perfect spot between sweet, sticky, and garlicky with juicy chicken and a glossy sauce that clings to every bite. It works for busy weeknights, meal prep, or casual entertaining, and you can get it on the table in about 30 minutes. I first made a version of this in a tiny apartment kitchen with one pan and a wobbly stove, so if I pulled it off there, you absolutely can too.
Why You Should Try This Honey Garlic Chicken Recipe
This Honey Garlic Chicken Recipe gives you crispy edges, tender meat, and a thick sauce that tastes like takeout in the best way. The honey balances the soy and garlic, so the flavor hits sweet, salty, and savory all at once.
You cook everything in one skillet, so cleanup stays painless and quick. The recipe uses simple pantry staples, so you probably own most of what you need already.
“This Honey Garlic Chicken Recipe tastes better than my favorite takeout spot and comes together faster than delivery. ★★★★★”
Ingredients You’ll Need
Chicken
- 1 ½ pounds boneless skinless chicken thighs, trimmed and cut into bite-size pieces
- Use thighs for juicy, tender chicken that stays moist.
- Use chicken breast if you prefer leaner meat, but watch the cook time so it does not dry out.
Sauce
- ½ cup honey
- Any mild honey works; clover or wildflower honey keeps the flavor balanced.
- ¼ cup low sodium soy sauce
- Use regular soy sauce if that is what you have, but reduce added salt.
- 3 tablespoons water or low sodium chicken broth
- 1 ½ tablespoons rice vinegar or apple cider vinegar
- 4 large garlic cloves, minced or grated
- 1 teaspoon fresh grated ginger (optional but highly recommended)
- ½ to 1 teaspoon crushed red pepper flakes, to taste
- 1 tablespoon cornstarch
- This thickens the sauce so it coats the chicken.
Seasoning & Cooking
- 1 tablespoon neutral oil (canola, avocado, or vegetable oil)
- ½ teaspoon kosher salt, plus more to taste
- ¼ teaspoon black pepper
- ½ teaspoon smoked paprika or regular paprika (optional, for color and a hint of flavor)
Garnishes
- 2 green onions, thinly sliced
- 1 to 2 teaspoons toasted sesame seeds
- Extra honey or soy sauce to adjust flavor at the end if needed
Pantry shortcuts & substitutions
- Use jarred minced garlic if you feel rushed; use 1 ½ teaspoons per clove.
- Use frozen pre-chopped garlic and ginger cubes to save time.
- Use gluten free tamari or coconut aminos instead of soy sauce if you avoid gluten.
- Use pre-cut chicken strips from the store to skip trimming and cutting.
Equipment
- Large nonstick skillet or cast iron skillet
- Small bowl and whisk
- Cutting board and sharp knife
- Measuring cups and spoons
- Tongs or a spatula
Tips & Tricks
- Pat the chicken dry with paper towels so it browns instead of steams.
- Cut the chicken into similar size pieces so everything cooks evenly.
- Heat the pan before you add the oil and chicken so you get a nice sear.
- Do not crowd the pan; cook in two batches if needed so the chicken browns.
- Stir the sauce mixture right before you pour it in so the cornstarch does not clump.
- Taste the sauce at the end and adjust with a splash of soy for salt or a drizzle of honey for sweetness.
- Add a splash of water if the sauce thickens too much while it cools.
- Use a nonstick skillet if you feel nervous about the sauce sticking or burning.
- Add steamed broccoli or snap peas right into the pan near the end for a one-pan meal.
- Double the sauce if you love extra to spoon over rice or noodles.
How to Make Honey Garlic Chicken Recipe
Step 1: Prep the chicken
Place the chicken pieces on a cutting board and pat them dry with paper towels. Sprinkle with salt, pepper, and paprika, then toss to coat evenly. Set the seasoned chicken aside while you mix the sauce.
Step 2: Mix the honey garlic sauce
In a small bowl, whisk together honey, soy sauce, water or broth, rice vinegar, garlic, ginger, red pepper flakes, and cornstarch. Whisk until the cornstarch fully dissolves and the mixture looks smooth. Keep the bowl near the stove so you can grab it quickly when the chicken finishes browning.
Step 3: Brown the chicken
Place a large skillet over medium high heat and let it heat for about 1 to 2 minutes. Add the oil and swirl to coat the bottom of the pan. Add the chicken in a single layer and leave a little space between pieces so they sear and caramelize.
Cook the chicken for 4 to 5 minutes without moving it much so a golden crust forms. Flip the pieces and cook another 3 to 4 minutes until the chicken cooks through and no pink remains in the center. Lower the heat to medium.
Step 4: Add the sauce
Give the sauce a quick whisk again, then pour it over the chicken in the skillet. Stir so every piece of chicken gets coated. The sauce will look thin at first, so keep the heat at medium and stir frequently.
Cook the sauce with the chicken for 3 to 5 minutes until it thickens and turns glossy. The bubbles will look slower and the sauce will cling to the chicken instead of pooling at the bottom. If it thickens too quickly, add a tablespoon of water and stir.
Step 5: Taste and finish
Taste a piece of chicken and a bit of sauce. Add a small splash of soy sauce if you want more salt or drizzle in a little extra honey if you want more sweetness. Turn off the heat.
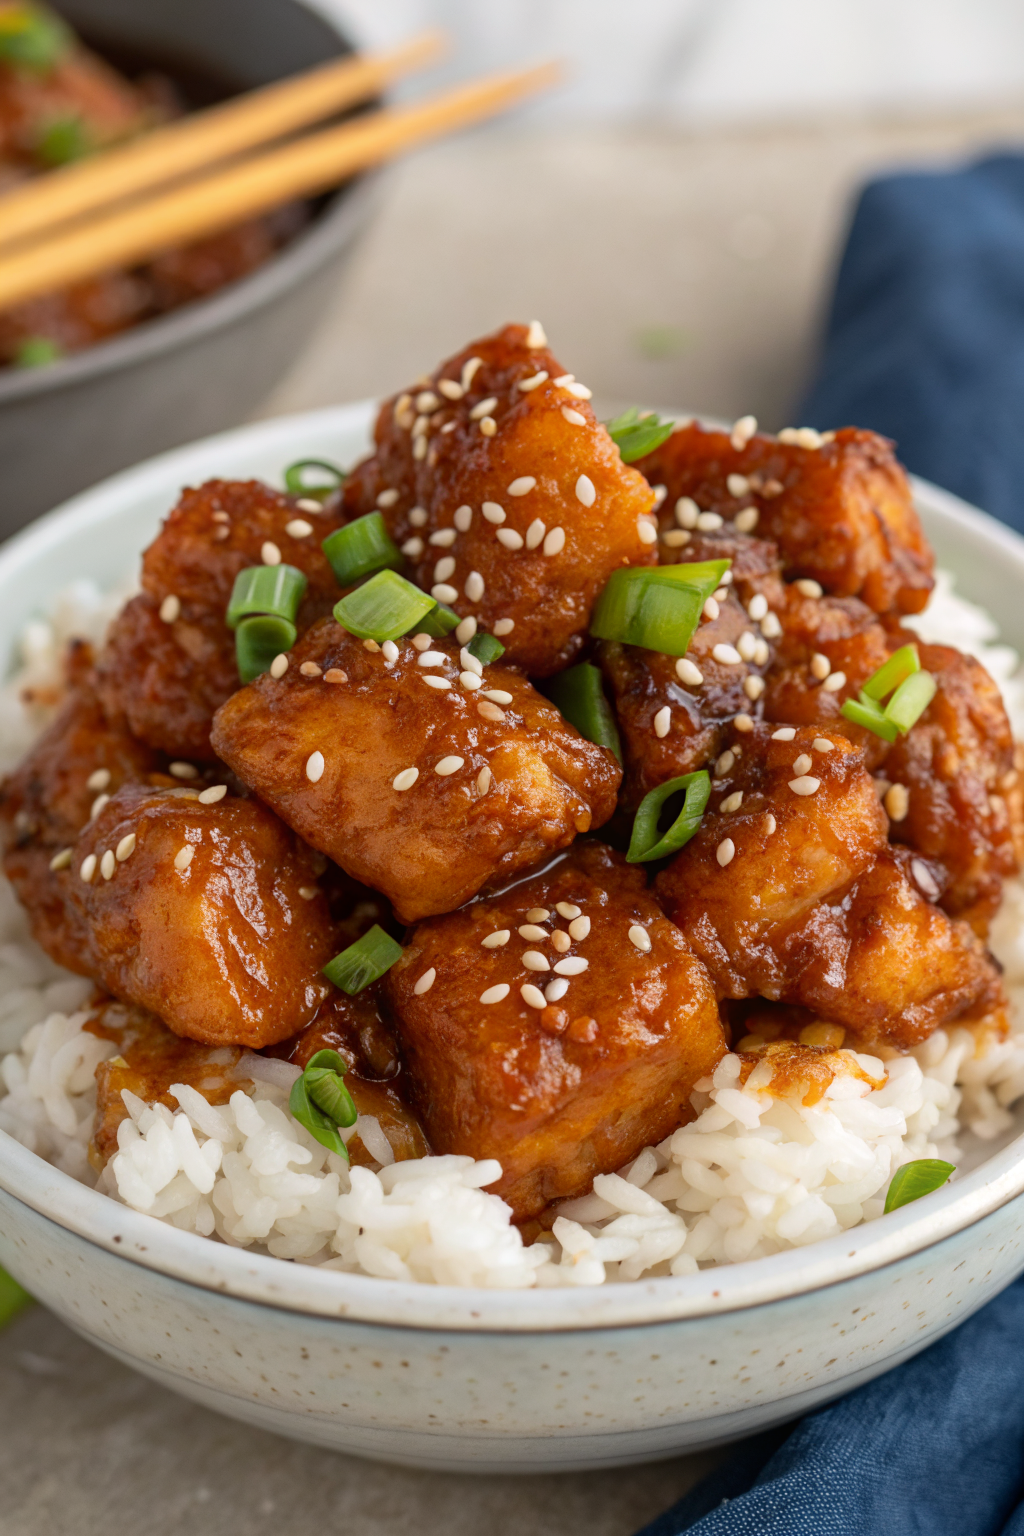
Sprinkle the chicken with sliced green onions and sesame seeds. Give everything a gentle toss so the garnishes spread across the skillet. Serve the Honey Garlic Chicken Recipe hot over rice, noodles, or veggies.
What to Serve with Honey Garlic Chicken Recipe
Honey Garlic Chicken Recipe pairs perfectly with fluffy white rice, brown rice, or jasmine rice that soaks up all that sticky sauce. You can spoon it over stir fried vegetables, steamed broccoli, or green beans for a lighter plate. Noodles like plain spaghetti, rice noodles, or udon also work well and catch every bit of sauce. Add a simple cucumber salad or sliced fresh fruit on the side to keep the meal bright and fresh.
Storage Options
- Store leftover Honey Garlic Chicken in an airtight container in the fridge for up to 4 days.
- Freeze cooled chicken and sauce in a freezer safe container or bag for up to 2 months.
- Reheat gently in a skillet over low to medium heat with a splash of water until hot and saucy again.
- Use the microwave in short bursts, stirring between each round, and add a teaspoon of water if the sauce thickens too much.
Honey Garlic Chicken Recipe
Ingredients
Instructions
- Place the chicken pieces on a cutting board and pat them dry with paper towels. Sprinkle with salt, pepper, and paprika, then toss to coat evenly. Set the seasoned chicken aside while you mix the sauce.
- In a small bowl, whisk together the honey, soy sauce, water or broth, rice vinegar, garlic, ginger, red pepper flakes, and cornstarch until the cornstarch fully dissolves and the mixture looks smooth. Keep the bowl near the stove.
- Place a large skillet over medium-high heat and let it heat for 1 to 2 minutes. Add the oil and swirl to coat the bottom of the pan. Add the chicken in a single layer, leaving a little space between pieces so they sear and caramelize.
- Cook the chicken for 4 to 5 minutes without moving it much so a golden crust forms. Flip the pieces and cook another 3 to 4 minutes until the chicken is cooked through and no pink remains in the center. Lower the heat to medium.
- Give the sauce a quick whisk again, then pour it over the chicken in the skillet. Stir so every piece of chicken gets coated. Cook over medium heat for 3 to 5 minutes, stirring frequently, until the sauce thickens, turns glossy, and clings to the chicken. If it thickens too quickly, add a tablespoon of water and stir.
- Taste a piece of chicken and a bit of sauce. Add a small splash of soy sauce if you want more salt or drizzle in a little extra honey if you want more sweetness. Turn off the heat.
- Sprinkle the chicken with sliced green onions and sesame seeds. Toss gently, then serve hot over rice, noodles, or vegetables.
Notes
Approximate per serving (4 servings): 360 calories; fat 12 g; saturated fat 3 g; carbohydrates 34 g; fiber 0 g; sugars 30 g; protein 30 g; sodium 780 mg. Values will vary based on exact ingredients, brands, and portion size.
Leave a Reply