

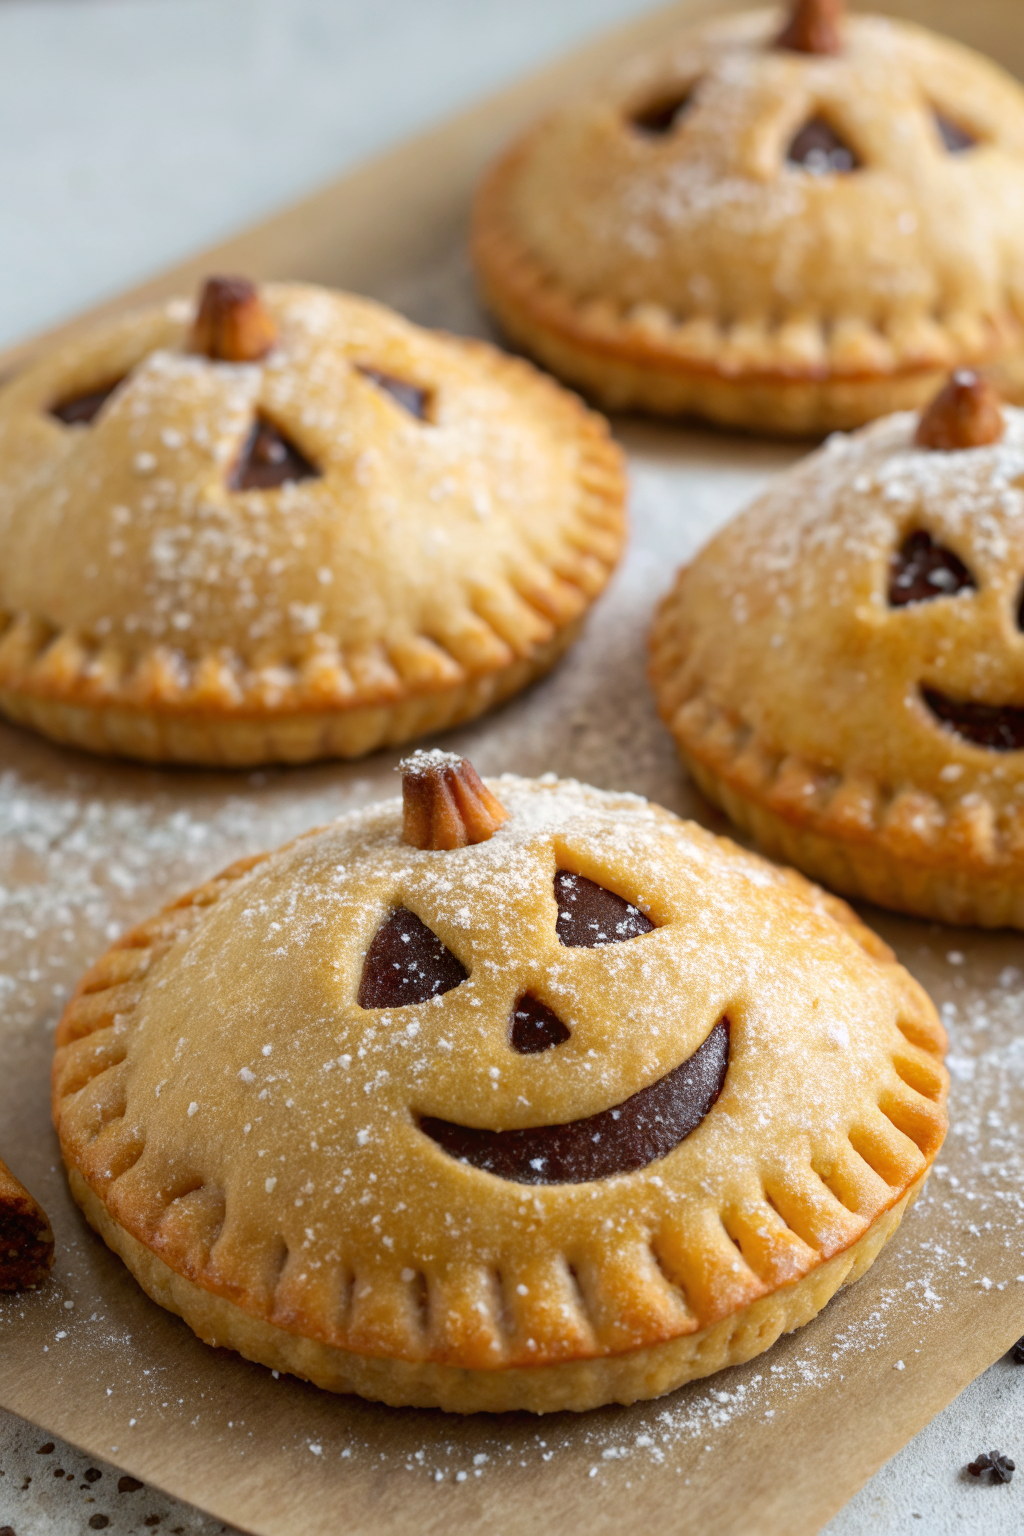
Pumpkin Shaped Mini Apple Pies Recipe tastes like a cozy fall hug in dessert form, with buttery flaky crust and cinnamon-spiced apple filling in every bite. It works perfectly for busy home bakers who want a cute holiday dessert on the table in about 1 hour from start to finish. I tested this on my own family of picky eaters, and they fought over the last one like it was the final slice of pizza.
Why Make This Pumpkin Shaped Mini Apple Pies Recipe at Home
You get all the flavor of classic apple pie in a fun pumpkin shape that kids and adults both love. These mini pies portion perfectly, travel easily to parties, and look way fancier than the effort they actually require.
You control the sweetness, spice level, and crust thickness, which makes them ideal for different tastes and dietary needs. You can also use store-bought shortcuts or go full from-scratch baker mode, depending on your time and energy.
“These Pumpkin Shaped Mini Apple Pies disappeared from the dessert table in ten minutes flat and everyone asked for the recipe. ★★★★★”
Ingredients You Need
For the pumpkin shaped mini pie crusts
- 2 store-bought refrigerated pie crusts
- Use your favorite brand; I like ones labeled “butter” for better flavor.
- You can use homemade pie dough if you have a go-to recipe and extra time.
- 1 egg, beaten with 1 tablespoon milk for egg wash
- 1–2 tablespoons coarse sugar or regular granulated sugar for sprinkling
For the apple pie filling
- 3 medium apples, peeled, cored, and finely diced
- Use a mix of tart and sweet: Granny Smith with Honeycrisp or Gala works great.
- 2 tablespoons unsalted butter
- 1/3 cup brown sugar, packed
- 1 tablespoon granulated sugar
- 1 1/2 teaspoons ground cinnamon
- 1/4 teaspoon ground nutmeg
- 1/8 teaspoon ground cloves (optional, for stronger spice)
- 1 teaspoon vanilla extract
- 1 tablespoon lemon juice
- 1 1/2 tablespoons cornstarch
- Pinch of salt
Pantry shortcuts and substitutions
- Use canned apple pie filling in a pinch; just chop it smaller so it fits in the mini pies.
- Swap cornstarch with 1 1/2 tablespoons all-purpose flour if needed.
- Use pumpkin pie spice instead of individual spices if that already sits in your pantry.
- Use pre-cut pie crust sheets if your store sells them; they save rolling time.
Equipment list
- Pumpkin-shaped cookie cutter, about 3–4 inches wide
- Baking sheet
- Parchment paper or silicone baking mat
- Small skillet or saucepan
- Mixing bowl
- Pastry brush
- Fork for crimping edges
- Small sharp knife for cutting vents and pumpkin “lines”
Tips & Mistakes
- Cut the apples small so they cook through quickly and fit inside the pumpkin shapes.
- Chill the cut crust shapes for 10–15 minutes before filling so they hold their shape better.
- Do not overfill the pies or the filling will leak out and burn on the pan.
- Seal the edges firmly with a fork so the filling stays inside.
- Use cold pie dough; warm dough turns sticky and tears easily.
- Vent the tops with small slits so steam escapes and the pies bake evenly.
- Brush lightly with egg wash; too much drips and burns on the pan.
- Bake on parchment so cleanup stays easy and nothing sticks.
- Let the mini apple pies cool at least 10–15 minutes so the filling sets and does not run.
- Taste the filling before you assemble; adjust sugar or cinnamon to match your apples.
How to Make Pumpkin Shaped Mini Apple Pies Recipe
Step 1: Prep the apples and filling
Peel, core, and finely dice the apples into small cubes, about pea to corn kernel size. Add them to a bowl with lemon juice and toss so they do not brown.
Melt the butter in a small skillet over medium heat. Add the apples, brown sugar, granulated sugar, cinnamon, nutmeg, cloves, and salt, then stir until everything coats the apples.
Cook the mixture for 5–7 minutes, stirring often, until the apples soften slightly but still hold shape. Stir in the vanilla, then sprinkle in the cornstarch and cook 1–2 more minutes until the juices thicken and look glossy.
Transfer the filling back to the bowl and let it cool to room temperature while you prep the crust. You can pop the bowl in the fridge for faster cooling if your kitchen runs warm.
Step 2: Cut the pumpkin shapes
Preheat your oven to 375°F (190°C) and line a baking sheet with parchment paper. Unroll one pie crust on a lightly floured surface and smooth out any cracks with your fingers.
Use the pumpkin-shaped cookie cutter to cut as many pumpkins as possible from the dough. Gather the scraps, press them together gently, and roll again to cut more shapes.
Repeat with the second pie crust so you end up with an even number of pumpkin cutouts. Aim for pairs, since each mini pie uses one bottom and one top.
Step 3: Add details to the pumpkin tops
Set half of the pumpkin cutouts aside for the bottoms. Take the other half for the tops and place them on a cutting board.
Use a small sharp knife to lightly score curved lines from top to bottom to mimic pumpkin ridges. Do not cut all the way through; just make shallow lines.
Cut 2–3 tiny slits near the center of each top pumpkin to act as steam vents. These vents keep the pies from puffing oddly and help them bake evenly.
Step 4: Fill and assemble the mini pies
Place the bottom pumpkin shapes on the prepared baking sheet, leaving a little space between each one. Add about 1 to 1 1/2 tablespoons of cooled apple filling to the center of each bottom, leaving a small border around the edges.
Do not pile the filling too high; keep it slightly mounded but contained. If any liquid pools in the bowl, spoon mostly apples and less liquid so the pies do not leak.
Brush the edges of each bottom pumpkin lightly with water or a bit of egg wash. Place a top pumpkin over each bottom and press gently around the edges with your fingers to seal.
Use a fork to crimp all around the edges for a tight seal and a cute rustic look. Repeat with all the pies until you use all the filling and crust shapes.
Step 5: Egg wash and sugar sprinkle
Whisk the egg and milk together in a small bowl. Brush the tops of each pumpkin shaped mini apple pie with a thin layer of egg wash.
Sprinkle a little coarse sugar or regular sugar over the tops for sparkle and crunch. This step also helps the tops brown nicely in the oven.
Step 6: Bake the pumpkin shaped mini apple pies
Place the baking sheet in the preheated oven. Bake for 18–22 minutes, until the pies look golden brown and the edges look crisp.
Rotate the pan halfway through baking if your oven browns unevenly. When the tops look deep golden and you see a little bubbling from the vents, pull them out.
Let the mini apple pies cool on the baking sheet for about 10 minutes. Move them to a wire rack to cool another 10–15 minutes so the filling sets and you can pick them up easily.
Variations I've Tried
Use salted caramel sauce with the apple filling for caramel apple pumpkin mini pies. Drizzle a little caramel over the apples before you seal the pies, but keep it light so they do not leak.
Swap the apples with finely diced pears and add a pinch of ginger for a pear version. This tastes amazing with a bit of extra vanilla.
Use puff pastry instead of pie crust for a lighter, flakier texture. Cut the same pumpkin shapes and keep a close eye while they bake, since puff pastry browns faster.
Add finely chopped pecans or walnuts to the filling for crunch. Toast the nuts first in a dry pan for a few minutes to boost flavor.
How to Serve Pumpkin Shaped Mini Apple Pies Recipe
Serve these Pumpkin Shaped Mini Apple Pies warm or at room temperature on a platter so everyone can grab their own little pumpkin. Add a scoop of vanilla ice cream, a spoonful of whipped cream, or a drizzle of warm caramel sauce. They also taste great plain with a mug of hot apple cider, chai, or hot chocolate. I like to set them out at fall parties and holiday gatherings as a hand-held dessert that does not need plates or forks.
How to store
- Store leftover mini apple pies in an airtight container at room temperature for up to 1 day.
- Keep them in the fridge for up to 4 days; reheat in a 325°F oven for 8–10 minutes until warm and crisp.
- Freeze baked pies on a baking sheet until solid, then move them to a freezer bag and keep them up to 2 months.
- Reheat frozen pies in a 325°F oven for 15–20 minutes; avoid the microwave if you want the crust to stay flaky.
Pumpkin Shaped Mini Apple Pies
Ingredients
Instructions
- Peel, core, and finely dice the apples into small cubes about pea to corn kernel size. Add them to a bowl with the lemon juice and toss to prevent browning.
- Melt the butter in a small skillet over medium heat. Add the apples, brown sugar, granulated sugar, cinnamon, nutmeg, cloves (if using), and salt, stirring to coat the apples evenly.
- Cook for 5–7 minutes, stirring often, until the apples soften slightly but still hold their shape. Stir in the vanilla, then sprinkle in the cornstarch and cook 1–2 more minutes until the juices thicken and look glossy.
- Transfer the filling to a bowl and let it cool to room temperature while you prep the crust, or chill briefly in the fridge if your kitchen is warm.
- Preheat the oven to 375°F (190°C) and line a baking sheet with parchment paper.
- Unroll one pie crust on a lightly floured surface and smooth out any cracks with your fingers.
- Use a 3–4 inch pumpkin-shaped cookie cutter to cut as many pumpkins as possible from the dough. Gather and gently press scraps together, roll again, and cut more shapes.
- Repeat with the second pie crust so you have an even number of pumpkin cutouts to make tops and bottoms for the mini pies.
- Set aside half of the pumpkin cutouts for the bottoms. Place the remaining half on a cutting board to use as tops.
- Using a small sharp knife, lightly score curved lines from top to bottom on each top piece to mimic pumpkin ridges, taking care not to cut all the way through.
- Cut 2–3 tiny slits near the center of each top to create steam vents so the pies bake evenly.
- Arrange the bottom pumpkin shapes on the prepared baking sheet, leaving a little space between each one.
- Spoon about 1 to 1 1/2 tablespoons of cooled apple filling into the center of each bottom, leaving a small border around the edges and avoiding excess liquid.
- Brush the edges of each bottom lightly with water or a bit of egg wash. Place a top pumpkin over each bottom and press gently around the edges to seal.
- Use a fork to crimp all around the edges for a tight seal and a rustic look.
- Beat the egg with 1 tablespoon of milk in a small bowl to make an egg wash.
- Brush a thin layer of egg wash over the tops of each pumpkin shaped mini apple pie, taking care not to let it pool around the edges.
- Sprinkle each pie lightly with coarse sugar or granulated sugar for sparkle, crunch, and better browning.
- Bake the pies at 375°F (190°C) for 18–22 minutes, or until the tops are deep golden brown and the edges look crisp.
- Rotate the baking sheet halfway through if your oven browns unevenly.
- Let the pies cool on the baking sheet for about 10 minutes, then transfer to a wire rack to cool another 10–15 minutes so the filling can set before serving.
Notes
Approximate per mini pie (1 of about 10): 190–220 calories; fat 9–11 g; saturated fat 4–5 g; carbohydrates 28–30 g; fiber 1–2 g; sugars 13–16 g; protein 2–3 g; sodium 160–220 mg. Values are estimates and will vary based on exact pie size, brand of pie crust, sugar amounts, and any additions like nuts or caramel.
Leave a Reply