

Vegan Love Letter Pastries Recipe tastes like a flaky, buttery bakery treat wrapped around sweet-tart jam and creamy filling, with just enough crisp edges to make your heart skip. It suits date nights, Valentine’s Day, anniversaries, or any random Tuesday when you want a romantic dessert in about 1 hour total. I tested these while stress-watching a baking show finale, and they absolutely stole the spotlight from the TV.
Why You Should Try This Vegan Love Letter Pastries Recipe
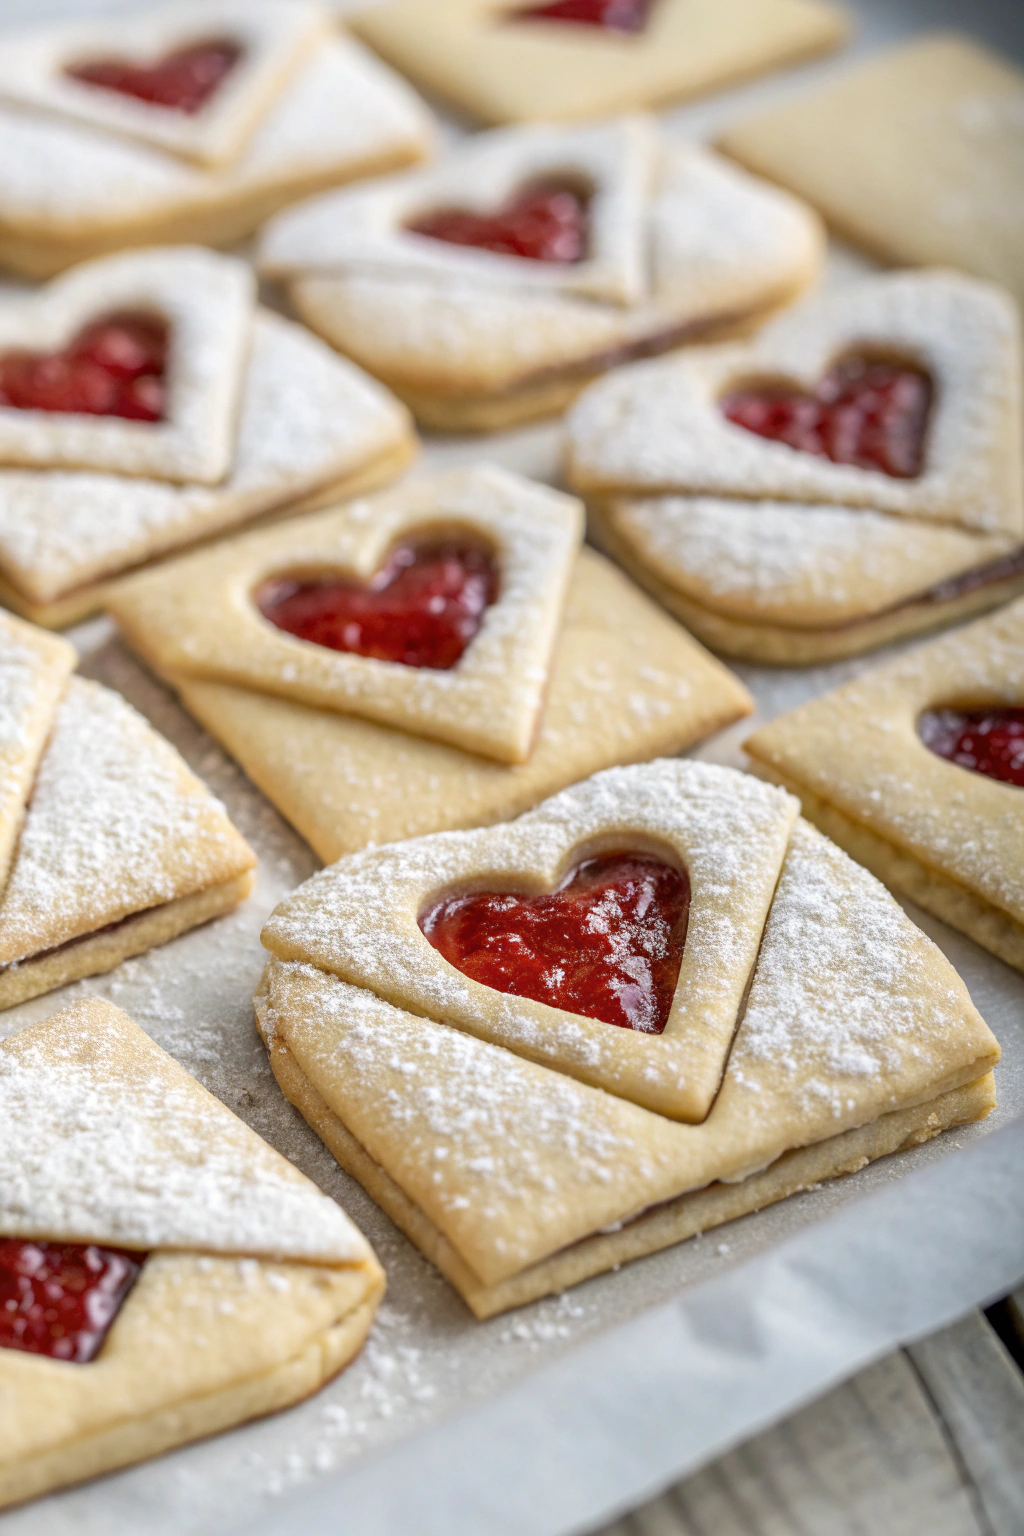
These Vegan Love Letter Pastries look fancy, yet they use simple ingredients and easy steps. You fold them like tiny envelopes, so they feel special without requiring pastry-school skills.
The pastry tastes tender and flaky, the filling tastes rich and fruity, and the powdered sugar on top makes them look bakery-level cute. They also bake quickly, so you can serve them warm while the filling still feels soft and cozy.
“I made this Vegan Love Letter Pastries Recipe for dessert and my partner thought I bought them from a bakery. The pastry tasted flaky, the jam stayed gooey, and the little envelope folds looked adorable. I followed the recipe exactly and the results came out perfect on the first try.”
Ingredients You’ll Need
Pastry
- 1 sheet vegan puff pastry, thawed but still cold
- Use an all-butter style vegan brand if possible, since it puffs better and tastes richer.
- Many store brands accidentally use vegan fat, so check labels in the freezer aisle.
- 2 to 3 tablespoons all-purpose flour, for dusting the work surface
- 2 tablespoons plant milk, for brushing (oat or soy works best)
- 1 tablespoon maple syrup or agave, to mix with the plant milk for a golden finish
Creamy filling
- 4 ounces vegan cream cheese, softened
- Choose a block style for thicker texture; tub style works but feels softer.
- 2 tablespoons powdered sugar
- 1 teaspoon vanilla extract
- Pinch of fine sea salt
Jam filling
- 6 to 8 tablespoons thick fruit jam or preserves
- Raspberry, strawberry, or cherry fit the love-letter theme.
- Use a seedless jam if you want a smoother bite.
- 1 teaspoon lemon juice, to brighten the flavor
- Optional: 1 teaspoon cornstarch, if your jam feels very runny
Topping
- 2 to 3 tablespoons powdered sugar, for dusting
- Optional: freeze-dried raspberry crumbs or finely chopped pistachios, for color
- Optional: a few tiny heart-shaped sprinkles, if you want extra cuteness
Pantry shortcuts and substitutions
- Use store-bought vegan puff pastry instead of homemade pastry to save time and effort.
- Swap vegan cream cheese with thick coconut yogurt for a lighter, tangier filling.
- Replace jam with chocolate hazelnut-style vegan spread if you want a chocolate version.
- Use any plant milk you already keep in the fridge; just avoid very watery rice milk, since it browns less.
Equipment list
- Baking sheet
- Parchment paper or silicone baking mat
- Rolling pin
- Sharp knife or pizza cutter
- Small mixing bowl and spoon or spatula
- Fork for mixing and crimping
- Pastry brush or clean fingertip for brushing milk mixture
- Cooling rack
Tips & Tricks
- Chill the puff pastry until cold but pliable, since warm pastry turns sticky and loses flakiness.
- Work with one half of the pastry at a time and keep the other half in the fridge.
- Cut the pastry into even squares, about 3 to 3.5 inches, so they bake at the same speed.
- Keep the filling away from the edges, since jam that reaches the border tends to leak.
- Mix a little cornstarch into very runny jam to keep it from oozing out in the oven.
- Press the envelope corners firmly and pinch the seams, then brush with the plant milk mixture to help them hold.
- Chill the shaped pastries in the fridge for 10 to 15 minutes before baking to keep the folds sharp.
- Bake on parchment or a silicone mat so cleanup stays easy if a little jam escapes.
- Let the pastries cool at least 10 minutes before dusting with powdered sugar, or the sugar melts into the surface.
- Serve the pastries slightly warm for the best texture and flavor.
How to Make Vegan Love Letter Pastries Recipe
Step 1: Mix the creamy filling
Add vegan cream cheese, powdered sugar, vanilla, and a pinch of salt to a small bowl.
Mash and stir with a fork until the mixture turns smooth and spreadable.
Taste and adjust the sweetness with a little more powdered sugar if you like a sweeter filling.
Step 2: Prep the jam layer
Spoon your jam into another small bowl.
Stir in the lemon juice and, if the jam feels thin, mix in the cornstarch until no dry spots remain.
Set the bowl aside while you work with the pastry.
Step 3: Prep the puff pastry
Line a baking sheet with parchment paper or a silicone baking mat.
Lightly flour your work surface and place the thawed puff pastry sheet on it.
Roll the pastry gently to smooth out the folds and stretch it into a neat rectangle, about 1/8 inch thick.
Use a sharp knife or pizza cutter to cut the pastry into 8 to 10 equal squares.
Step 4: Add the fillings
Place the pastry squares in front of you so they look like diamonds, with a point facing up.
Spread about 1 teaspoon of the cream cheese filling in the center of each square, leaving a clear border.
Top with 1 to 2 teaspoons of jam on each, keeping it piled in the middle.
Do not overfill, since too much filling makes the envelopes burst open.
Step 5: Fold into love letters
Brush a thin line of plant milk along the edges of each pastry square.
Fold the bottom corner up over the filling, then fold the left and right corners toward the center so they overlap slightly, like an envelope.
Press gently where the corners meet to seal them, and pinch any open seams.
Leave the top corner open so the pastry looks like a little letter.
Step 6: Brush and chill
Mix the plant milk with maple syrup or agave in a small bowl.
Brush the tops and exposed edges of each pastry with this mixture.
Transfer the pastries to the lined baking sheet, spacing them out so they have room to puff.
Chill the tray in the fridge for 10 to 15 minutes while you heat the oven.
Step 7: Bake until puffed and golden
Heat your oven to 400°F (200°C).
Place the chilled pastries in the hot oven and bake 15 to 20 minutes, until the pastry looks puffed and deep golden around the edges.
Rotate the baking sheet halfway through if your oven browns unevenly.
Remove the tray from the oven and let the pastries cool on the sheet for 5 minutes, then move them to a cooling rack.
Step 8: Finish and serve
Let the Vegan Love Letter Pastries cool until warm but not hot, about 10 to 15 minutes.
Dust the tops with powdered sugar and add freeze-dried raspberry crumbs or sprinkles if you like.
Serve them warm or at room temperature on a pretty plate, and enjoy the flaky layers with the creamy, jammy center.
What to Serve with Vegan Love Letter Pastries Recipe
Serve these Vegan Love Letter Pastries with hot drinks like coffee, oat milk lattes, chai, or herbal tea.
They also pair nicely with cold almond milk or a fruity mocktail made with sparkling water and a splash of juice.
Add fresh berries or sliced strawberries on the side to echo the jam flavor.
If you want a bigger dessert plate, serve the pastries with a scoop of vegan vanilla ice cream or coconut whipped cream.
Storage Options
- Store leftover pastries in an airtight container at room temperature for up to 1 day.
- Keep them in the fridge for 3 days if you want them to last longer.
- Freeze baked pastries in a single layer on a tray, then move them to a freezer bag and keep them up to 2 months.
- Reheat in a 350°F (175°C) oven or toaster oven for 5 to 8 minutes until warm and crisp again, and avoid the microwave since it turns the pastry soft.
Vegan Love Letter Pastries Recipe
Ingredients
Instructions
- Preheat the oven to 400°F (200°C) and line a baking sheet with parchment paper.
- On a lightly floured surface, roll the vegan puff pastry sheet into a rectangle about 1/8-inch thick.
- Cut the pastry into 8 equal rectangles. On half of the rectangles, score a small border about 1/4 inch from the edge, being careful not to cut all the way through.
- Stir the jam with the vanilla extract if using, then spoon a small amount of jam into the center of each unscored rectangle, leaving a clean border around the edges.
- Brush the borders around the jam with plant milk. Place a scored rectangle on top of each filled rectangle, pressing the edges together to seal. Crimp edges with a fork if desired.
- Brush the tops lightly with more plant milk and sprinkle with granulated sugar.
- Transfer the pastries to the prepared baking sheet and bake for 12–15 minutes, or until puffed and golden brown.
- Let the pastries cool slightly, then dust with powdered sugar and serve warm or at room temperature with fresh berries if desired.
Notes
Approximate per serving (1 pastry, based on 8 servings): 210 calories; fat 12 g; saturated fat 4 g; carbohydrates 23 g; fiber 1 g; sugars 8 g; protein 3 g; sodium 170 mg. Values will vary based on brands, exact ingredients, and portion size.
Leave a Reply