

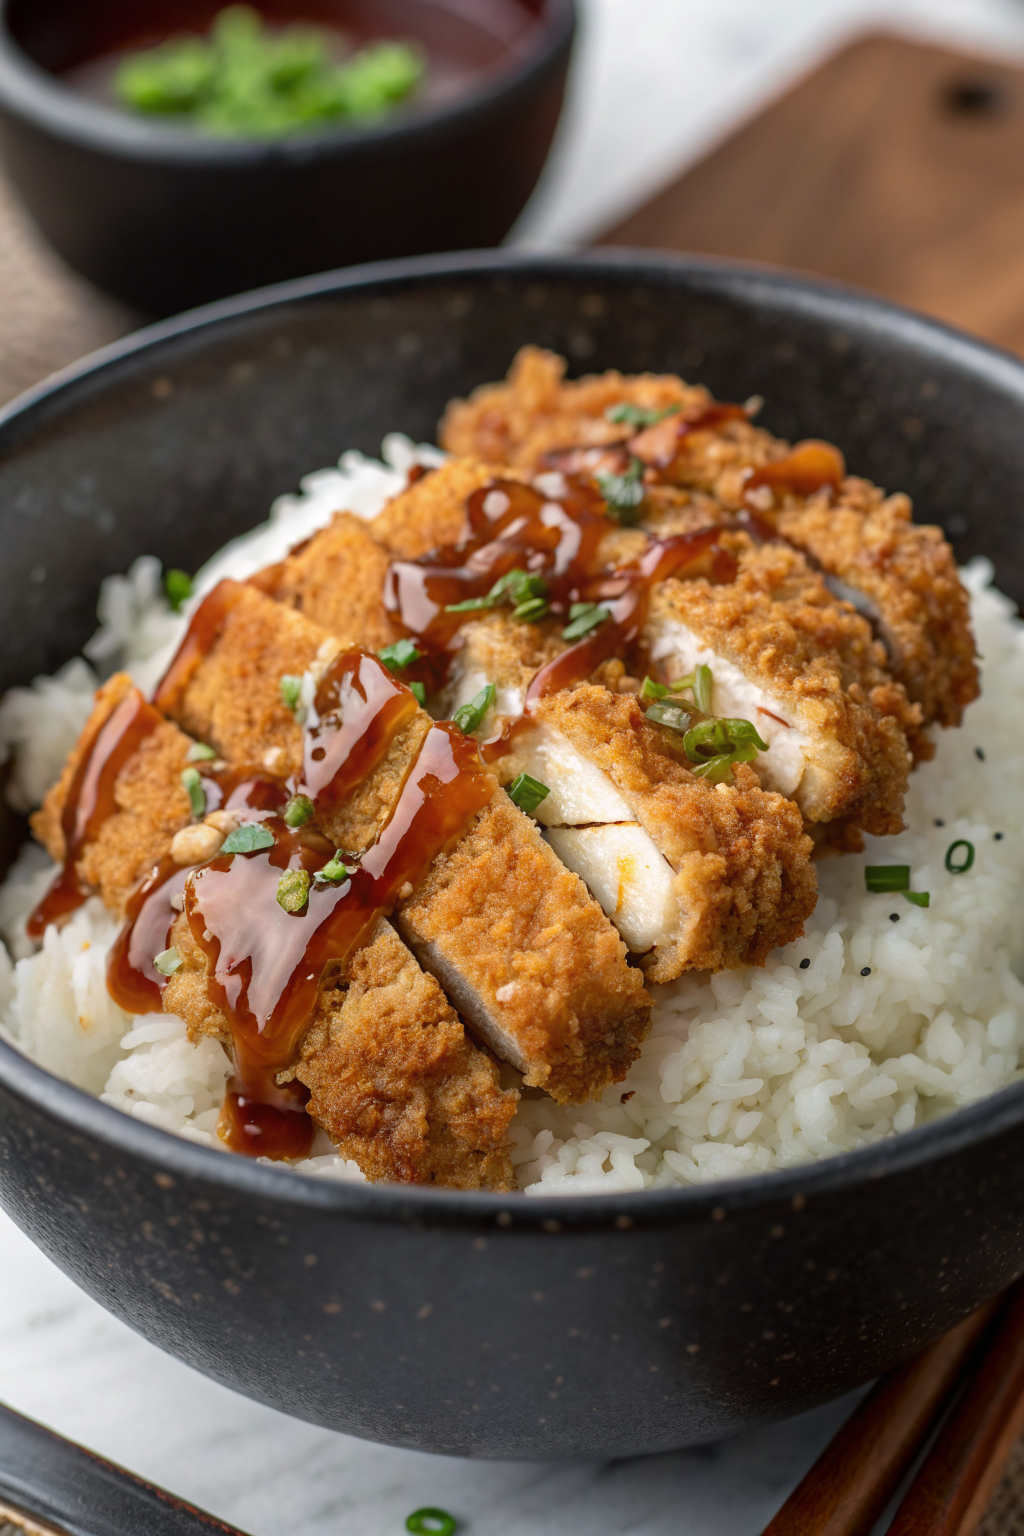
Crispy Japanese Katsu Bowls Recipe hits every comfort-food note: ultra crunchy cutlets, glossy curry or tangy sauce, and fluffy rice that soaks it all up. It works perfectly for busy weeknights, date nights at home, or meal prep, and you can finish everything in about 45–55 minutes. I tested versions of this bowl so many times that my family started ranking them like a TV cooking show.
Why Choose This Crispy Japanese Katsu Bowls Recipe
This Crispy Japanese Katsu Bowls Recipe gives you shatteringly crisp cutlets that stay crunchy under sauce instead of turning soggy. You build the bowl with simple pantry ingredients, so you skip takeout and still get restaurant-style flavor.
You also customize each bowl easily: mild Japanese curry, classic katsu sauce, or a lighter citrusy soy drizzle. Kids, spice-lovers, and picky eaters all stay happy at the same table.
“This Crispy Japanese Katsu Bowls Recipe tastes like my favorite Tokyo lunch spot moved into my kitchen, but with fewer dishes and more leftovers. ★★★★★”
Ingredients You’ll Need
Protein and coating
- 4 boneless pork chops or chicken cutlets, about 1/2 inch thick
- Use pork loin or chicken breast sliced in half horizontally.
- 1 teaspoon kosher salt
- 1/2 teaspoon black pepper
- 1 teaspoon garlic powder
- 1 teaspoon onion powder
- 1 cup all-purpose flour
- 2 large eggs, beaten
- 1 tablespoon milk or water, to loosen the eggs
- 2 cups panko breadcrumbs
- Use Japanese panko if possible; Kikkoman and 4C both crisp nicely.
- Neutral oil for shallow frying
- Use canola, vegetable, or peanut oil; avoid olive oil since it smokes quickly.
Rice and base
- 2 cups short-grain Japanese rice, rinsed
- Calrose or Kokuho Rose work well as easy supermarket options.
- 2 1/4 cups water
- 1/2 teaspoon kosher salt
- 1 teaspoon neutral oil or a small knob of butter, optional, for extra shine
Simple katsu sauce (tonkatsu-style)
You can buy bottled tonkatsu sauce (Bull-Dog brand tastes closest to restaurant style) or mix this quick version.
- 1/4 cup ketchup
- 2 tablespoons Worcestershire sauce
- 1 tablespoon soy sauce
- 1 tablespoon oyster sauce or hoisin sauce
- 1 teaspoon sugar or honey
- 1 teaspoon rice vinegar
Optional quick curry version
Use this if you prefer katsu curry bowls.
- 1 tablespoon neutral oil
- 1 small onion, thinly sliced
- 1 medium carrot, sliced into coins
- 1 small potato, peeled and cubed
- 2 cups low-sodium chicken broth or vegetable broth
- 3–4 squares Japanese curry roux (Golden Curry or Vermont Curry work great)
- 1 teaspoon soy sauce, to taste
Fresh toppings and garnish
- 2 cups finely shredded green cabbage
- 2 green onions, thinly sliced
- 1 small cucumber, thinly sliced or cut into matchsticks
- 1 tablespoon toasted sesame seeds
- Japanese mayo (Kewpie) for drizzling, optional
- Shichimi togarashi or crushed red pepper, optional, for heat
- Lemon wedges or yuzu juice, optional, for brightness
Equipment
- Cutting board and sharp knife
- Meat mallet or rolling pin, to pound cutlets
- 3 shallow bowls for dredging
- Large skillet or sauté pan for frying
- Small saucepan for sauce or curry
- Fine mesh strainer for rinsing rice
- Medium pot or rice cooker
- Wire rack set over a sheet pan or a plate lined with paper towels
- Tongs or chopsticks for turning cutlets
Tips & Tricks
- Pound the cutlets to even thickness so they cook quickly and stay juicy.
- Pat the meat dry before seasoning so the flour sticks better.
- Season the flour lightly with salt, pepper, and a pinch of paprika to add flavor in every layer.
- Press the panko firmly onto the cutlets so the crust clings and stays extra crunchy.
- Chill breaded cutlets in the fridge for 10–15 minutes before frying to help the coating set.
- Heat the oil to about 340–350°F; use a thermometer or test with a breadcrumb that sizzles and browns in about 45 seconds.
- Fry in batches so the oil temperature stays hot and the crust stays crisp.
- Drain cutlets on a wire rack instead of stacking them so steam does not soften the crust.
- Slice cutlets just before serving to keep the juices inside and the crust intact.
- Use leftover katsu in sandwiches, wraps, or over salad for easy lunches.
How to Make Crispy Japanese Katsu Bowls Recipe
Step 1: Cook the rice
Rinse the rice under cold water until the water runs mostly clear. Combine rice, water, salt, and oil or butter in a pot or rice cooker. Cook according to your rice cooker instructions or bring to a simmer on the stove, cover, lower the heat, and cook 15 minutes, then rest 10 minutes off heat.
Fluff the rice gently with a fork or paddle. Keep it covered so it stays warm while you prepare the katsu and toppings.
Step 2: Prep and season the cutlets
Place each pork chop or chicken piece between two sheets of plastic wrap. Pound gently with a meat mallet or rolling pin until about 1/2 inch thick and even. Season both sides with salt, pepper, garlic powder, and onion powder.
Let the seasoned cutlets sit at room temperature for about 10–15 minutes. This short rest helps the seasoning soak in and helps the meat cook more evenly.
Step 3: Set up the breading station
Place flour in the first shallow bowl. Beat eggs with milk or water in the second bowl. Pour panko into the third bowl.
Season the flour with a pinch of salt and pepper. You can also season the panko lightly if you like a more flavorful crust.
Step 4: Bread the cutlets
Coat each cutlet lightly in flour and shake off the excess. Dip it into the egg mixture and coat completely. Press it firmly into the panko on both sides until every spot looks covered.
Place breaded cutlets on a plate or tray. Chill them in the fridge for 10–15 minutes while you heat the oil and prep toppings.
Step 5: Prep toppings and quick sauce
Shred the cabbage very finely so it tastes light and crisp in the bowl. Slice green onions and cucumber and set them aside. Stir together ketchup, Worcestershire, soy sauce, oyster or hoisin sauce, sugar, and rice vinegar in a small bowl until smooth.
Taste the sauce and adjust with a little more sugar or vinegar to balance sweet and tangy notes. Chill the sauce while you fry the cutlets.
Step 6: Optional curry version
Heat oil in a small saucepan over medium heat. Add sliced onion and cook until it turns soft and lightly golden. Add carrot and potato and stir for 2–3 minutes.
Pour in broth and bring to a gentle simmer. Cook until vegetables turn tender, about 10–12 minutes. Turn the heat low, add curry roux pieces, and stir until they melt and thicken the sauce. Finish with soy sauce to taste and keep warm on low heat.
Step 7: Fry the katsu
Pour about 1/2 inch of oil into a large skillet and heat over medium to medium-high heat. Check the temperature with a thermometer or test with a breadcrumb that sizzles and browns in under a minute. Lay cutlets gently into the hot oil without crowding the pan.
Fry each side for about 3–4 minutes until the crust turns deep golden and the meat cooks through. Transfer cutlets to a wire rack or paper towel lined plate. Sprinkle a tiny pinch of salt over them while hot to boost flavor.
Step 8: Slice the katsu
Let the cutlets rest for 3–5 minutes so the juices settle. Slice each cutlet crosswise into strips about 1/2 to 3/4 inch wide. Keep the slices in their original shape so they fan out nicely over the rice.
This step gives you that classic katsu bowl look and makes the cutlets easier to eat with chopsticks or a fork.
Step 9: Build the bowls
Scoop warm rice into each bowl. Add a small mound of shredded cabbage and a handful of cucumber on the side. Fan sliced katsu over the rice.
Drizzle katsu sauce over the cutlets or spoon hot curry around one side of the rice if you use the curry version. Top with green onions, sesame seeds, and a light drizzle of Japanese mayo if you like. Finish with a sprinkle of shichimi togarashi or a squeeze of lemon for brightness.
What to Serve with Crispy Japanese Katsu Bowls Recipe
Serve these Crispy Japanese Katsu Bowls with a simple miso soup or clear broth soup to keep the meal light but cozy. A quick side of edamame, steamed broccoli, or blistered green beans balances the richness of the fried cutlets. You can also add a small side salad with ginger dressing or a cucumber salad with rice vinegar and sesame oil.
Offer green tea, iced tea, or sparkling water with citrus slices as refreshing drink options. If you cook for kids, pair the bowls with fruit like orange wedges or sliced strawberries for a sweet finish.
Storage Options
- Store leftover katsu and rice in separate airtight containers in the fridge for up to 3 days.
- Keep sauce or curry in its own container in the fridge for 3–4 days.
- Freeze cooked katsu cutlets on a tray, then move them to a freezer bag and store for up to 2 months.
- Reheat katsu in a 375°F oven or air fryer until hot and crisp; warm rice and curry gently on the stove or in the microwave with a splash of water.
Crispy Japanese Katsu Bowls Recipe
Ingredients
Instructions
- Season the pounded chicken thighs with salt and pepper on both sides.
- Place flour in one shallow dish, beaten eggs in a second, and panko breadcrumbs in a third.
- Dredge each piece of chicken in flour, shaking off excess, then dip into egg, and finally press into panko until well coated on all sides.
- Heat the oil in a large skillet over medium heat until hot but not smoking. Fry the cutlets 3–4 minutes per side, or until golden brown and cooked through to 165°F (74°C). Transfer to a wire rack or paper towels to drain, then slice into strips.
- In a small bowl, whisk together the tonkatsu sauce, ketchup, soy sauce, mirin, and sugar until smooth. Adjust sweetness or saltiness to taste.
- Divide the warm cooked rice among 4 bowls.
- Arrange shredded cabbage, cucumber slices, and julienned carrot around the sides of each bowl.
- Place sliced katsu cutlets on top of the rice in each bowl.
- Drizzle katsu sauce over the cutlets and sprinkle with green onions and sesame seeds if using.
- Serve immediately while the katsu is still crispy.
Notes
Approximate per serving (1 bowl): 720 calories; fat 32 g; saturated fat 7 g; carbohydrates 78 g; fiber 4 g; sugars 11 g; protein 30 g; sodium 1180 mg. Values are estimates and will vary based on specific ingredients, brands, and portion sizes.
Leave a Reply