
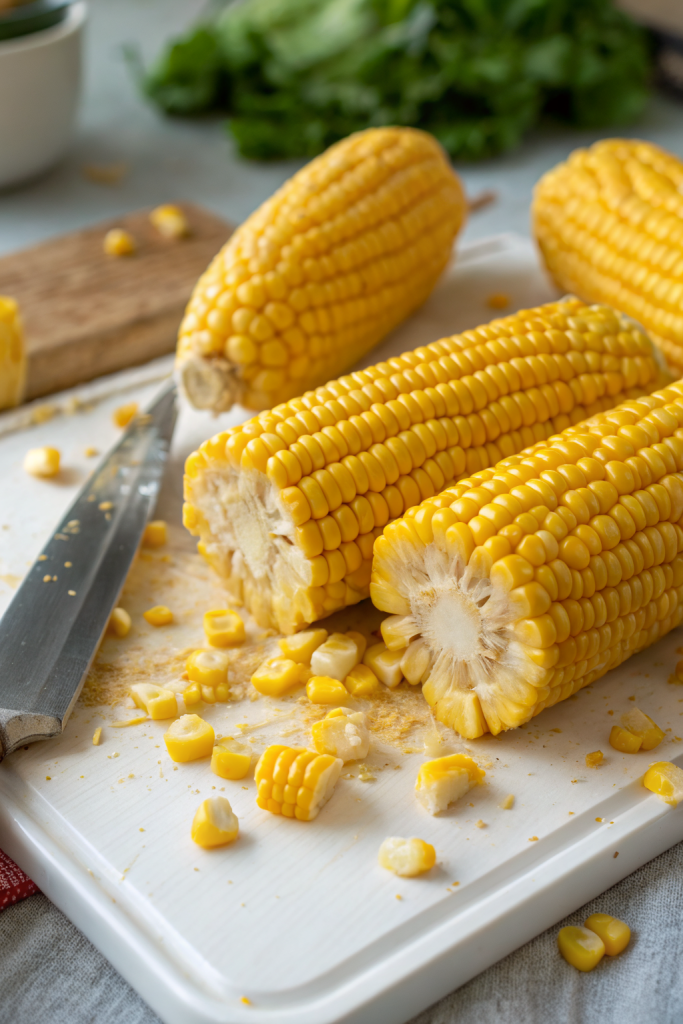
How to Freeze Corn on The Cob tastes like peak summer sweetness in the middle of January, which feels a little bit like cheating in the best way. It works for busy families, meal preppers, and anyone who wants farm-fresh flavor in under 15 minutes of hands-on time. I grew up in the Midwest with corn stands on every corner, so I take frozen corn on the cob very seriously.
Why Choose This Freeze Corn on The Cob Recipe
This method keeps the kernels juicy, bright, and sweet instead of watery and bland. You get simple steps, no fancy gear, and corn that tastes close to fresh off the stalk.
You also save money when you freeze a big batch during peak season. Future you will thank present you every time you pull a bag out of the freezer on a busy weeknight.
“Best guide I’ve used for freezing corn on the cob, tasted like summer all over again ★★★★★”
Ingredients You’ll Need
- Fresh corn on the cob
- Choose ears with bright green husks, slightly damp silk, and firm, plump kernels.
- Yellow, white, or bicolor corn all work great.
- Kosher salt (optional, for blanching water)
- Ice (for an ice bath)
- Water (for blanching and cooling)
You do not need butter or seasoning at this stage. Add those when you cook the frozen corn later, so the flavor stays fresh and clean.
Equipment list
- Large stockpot or Dutch oven
- Large bowl for ice bath
- Tongs
- Sharp knife (if you want to freeze kernels off the cob)
- Cutting board
- Clean kitchen towels or paper towels
- Baking sheet (optional, for pre-freezing)
- Parchment paper (optional)
- Freezer-safe zip-top bags or vacuum-seal bags
- Permanent marker for labeling
Tips & Tricks
- Choose the freshest corn you can find and freeze it the same day if possible.
- Look for tight green husks, no brown slimy silk, and kernels that feel firm when you press gently.
- Blanch the corn before freezing so the enzymes stop and the sweet flavor stays bright.
- Salt the blanching water lightly to keep flavor balanced.
- Cool the corn completely in an ice bath so it does not keep cooking.
- Dry the cobs very well so ice crystals stay minimal and texture stays crisp.
- Freeze in portions that match how your household eats, like 2, 4, or 6 ears per bag.
- Label every bag with date and quantity so you do not play freezer mystery games later.
- Use a straw to suck out extra air from zip-top bags if you do not own a vacuum sealer.
- Freeze cobs in a single layer so they do not stick together in one giant corn brick.
- Keep the freezer at a steady 0°F or colder for best texture and flavor.
- Use frozen corn on the cob within 8 to 10 months for top quality.
- If you want easy side dishes, cut the kernels off before freezing and store them in flat bags.
- Do not overcook the corn when you blanch it, since you will cook it again after thawing.
- Add a paper towel inside the bag if you notice extra moisture and want to reduce ice buildup.
How to Freeze Corn on The Cob
Step 1: Prep and Husk the Corn
Fill a large stockpot with water and set it on the stove to heat while you prep the corn. Peel off the husks and silk from each ear. Rinse the ears under cool water and rub away any stubborn silk strands.
Pat the corn dry with a clean towel. Set the ears aside on a tray while the water comes to a boil. Keep the corn out of direct sun so it stays crisp.
Step 2: Blanch the Corn
Bring the pot of water to a rolling boil and add a tablespoon or two of kosher salt. Gently lower the ears of corn into the boiling water with tongs. Do not crowd the pot, since crowded corn cooks unevenly.
Blanch small ears for about 4 minutes, medium ears for about 5 minutes, and large ears for about 6 minutes. Start timing once the water returns to a boil. The kernels should look brighter and slightly more tender but not soft.
Step 3: Shock in an Ice Bath
While the corn blanches, fill a large bowl with cold water and plenty of ice. When the blanching time ends, move the ears straight from the pot into the ice bath with tongs. Fully submerge the corn so the cold water reaches every kernel.
Let the corn sit in the ice bath for the same amount of time you blanched it. This step stops the cooking and locks in the texture. Add more ice if it melts quickly.
Step 4: Dry the Corn Thoroughly
Remove the cooled ears from the ice bath and place them on a clean towel or paper towels. Pat each ear dry on all sides. Take your time with this step so you avoid excess moisture that can cause freezer burn.
Let the corn air dry for 5 to 10 minutes on the counter. Rotate the ears once or twice so every side dries evenly. You want the surface dry to the touch.
Step 5: Decide: On the Cob or Off the Cob
At this point, decide if you want to freeze the corn on the cob or as loose kernels. If you like the classic cob experience, keep them whole. If you prefer quick weeknight cooking, cut the kernels off.
To cut kernels, stand an ear upright on a cutting board and slice downward with a sharp knife, close to the cob. Rotate and repeat until you remove all the kernels. Work over a large bowl to catch every kernel.
Step 6: Pre-Freeze for Best Texture (Optional but Helpful)
Line a baking sheet with parchment paper. Arrange the dry ears of corn or loose kernels in a single layer so they do not touch. Slide the tray into the freezer and chill for 1 to 2 hours until the corn feels firm.
This step keeps the ears and kernels separate in the bag. You avoid one big frozen clump and get easier portioning later. Skip this step only if you feel short on time or freezer space.
Step 7: Pack and Label
Transfer the pre-frozen ears or kernels into freezer-safe bags. Fill each bag in the portion size that fits your meals, then press out as much air as possible. Seal the bags tightly.
Write the date, quantity, and type on each bag, such as “Corn on the cob, 4 ears, July 2026.” Stack the bags flat in the coldest part of your freezer. Keep them away from the door where temperature swings happen more often.
Step 8: How to Cook Frozen Corn on the Cob Later
You can cook frozen corn on the cob straight from the freezer without thawing. Drop frozen ears into simmering water and cook for 4 to 6 minutes until hot and tender. Season with butter, salt, and pepper right before serving.
If you froze kernels, add them straight to soups, chilis, casseroles, or skillet dishes. Heat them gently so they stay crisp and sweet. Taste and season at the end since frozen corn often needs just a pinch of extra salt.
What to Serve with it
Serve frozen corn on the cob with grilled chicken, baked fish, or turkey burgers for a simple dinner that still feels special. Add a fresh green salad, sliced tomatoes, or cucumber salad for a cool contrast. Kids usually love it with mac and cheese or simple buttered noodles.
You can also pair it with slow cooker pulled pork, roasted potatoes, or veggie-packed black bean tacos. The sweet crunch of the corn balances savory and spicy flavors really well.
Storage Options
- Store frozen corn on the cob in freezer-safe bags at 0°F or colder for 8 to 10 months for best flavor and texture.
- Keep frozen kernels in flat, labeled bags for up to 10 months and stack them to save space.
- Avoid storing blanched corn in the fridge for more than 2 days before freezing, since quality drops quickly.
- Reheat frozen corn on the cob by simmering in water, steaming, or microwaving with a splash of water until hot.
- Reheat frozen kernels by adding them straight to hot dishes or by steaming or microwaving them with a little water and seasoning.
How to Freeze Corn on The Cob
Ingredients
Instructions
- Fill a large stockpot with water and set it on the stove to heat while you prep the corn.
- Peel off the husks and silk from each ear of corn. Rinse under cool water and rub away any remaining silk, then pat the ears dry with a clean towel and set aside out of direct sun.
- Bring the pot of water to a rolling boil and add the kosher salt, if using. Gently lower the ears of corn into the boiling water with tongs, being careful not to crowd the pot.
- Blanch small ears for about 4 minutes, medium ears for about 5 minutes, and large ears for about 6 minutes, starting the timer once the water returns to a boil. The kernels should look brighter and slightly more tender but not soft.
- While the corn blanches, fill a large bowl with cold water and plenty of ice. When blanching time is up, transfer the ears directly from the pot into the ice bath with tongs, fully submerging them so the cold water reaches every kernel.
- Let the corn sit in the ice bath for the same amount of time you blanched it to stop the cooking and lock in the texture, adding more ice if it melts quickly.
- Remove the cooled ears from the ice bath and place them on clean kitchen towels or paper towels. Pat each ear dry on all sides, then let them air dry for 5 to 10 minutes, rotating once or twice until dry to the touch.
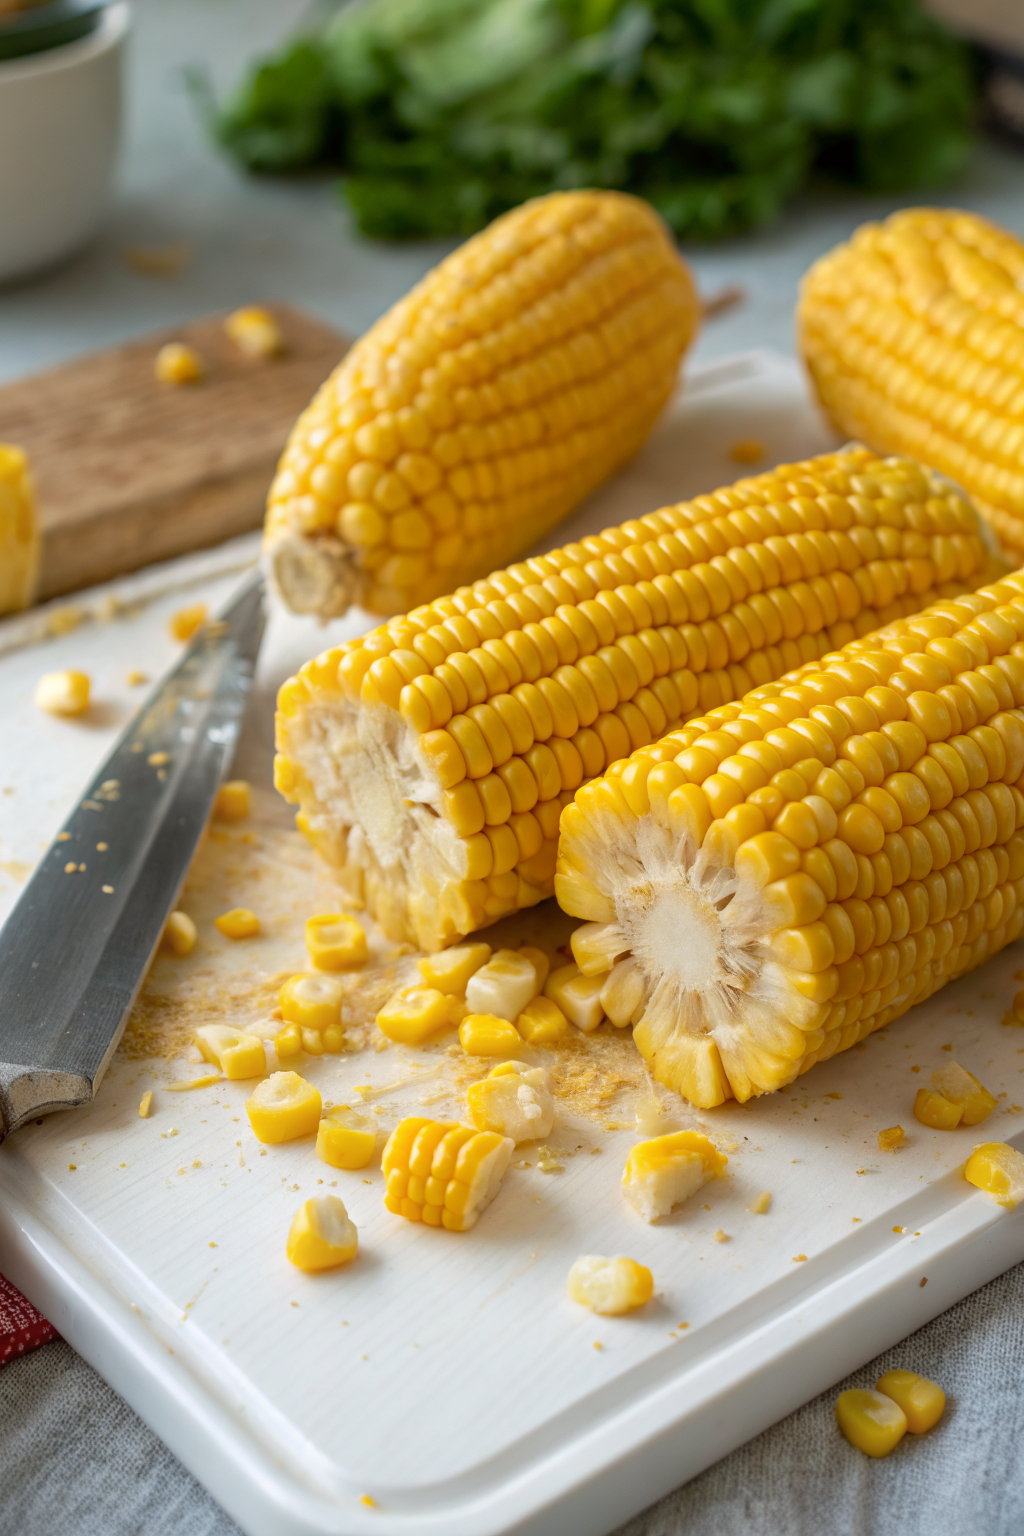
- Decide whether to freeze the corn on the cob or as loose kernels. For kernels, stand an ear upright on a cutting board and slice downward with a sharp knife close to the cob, rotating until all kernels are removed. Work over a large bowl to catch all the kernels.
- For best texture, line a baking sheet with parchment paper and arrange the dry ears of corn or loose kernels in a single layer so they do not touch. Freeze for 1 to 2 hours, until the corn feels firm.
- Transfer the pre-frozen ears or kernels into freezer-safe zip-top or vacuum-seal bags, filling each bag with the portion size you prefer. Press out as much air as possible and seal tightly.
- Label each bag with the date, quantity, and type (for example, “Corn on the cob, 4 ears”), then stack the bags flat in the coldest part of your freezer, away from the door.
- To cook later, drop frozen ears directly into simmering water and cook for 4 to 6 minutes, until hot and tender, then season with butter, salt, and pepper before serving. Frozen kernels can be added straight to soups, chilis, casseroles, or skillet dishes and gently heated until hot.
Notes
Approximate per 1 ear (about 90 g) of blanched corn without added butter or seasoning: 80 calories; fat 1 g; saturated fat 0 g; carbohydrates 19 g; fiber 2 g; sugars 6 g; protein 3 g; sodium 5 mg (not including salted blanching water). Values will vary based on corn variety, ear size, and any seasonings or fats added when reheating.
Leave a Reply